首先准备IDEA,激活的话使用
eval reset ,然后是准备CobaltStrike4.3 0x01 反编译Jar文件
使用CFR工具将 ,http://www.benf.org/other/cfr/
java -jar ./cfr-0.151.jar ./cobaltstrike.jar --outputdir ./source0x02 IDEA创建一个新项目
选择java模板,一路next下去就好
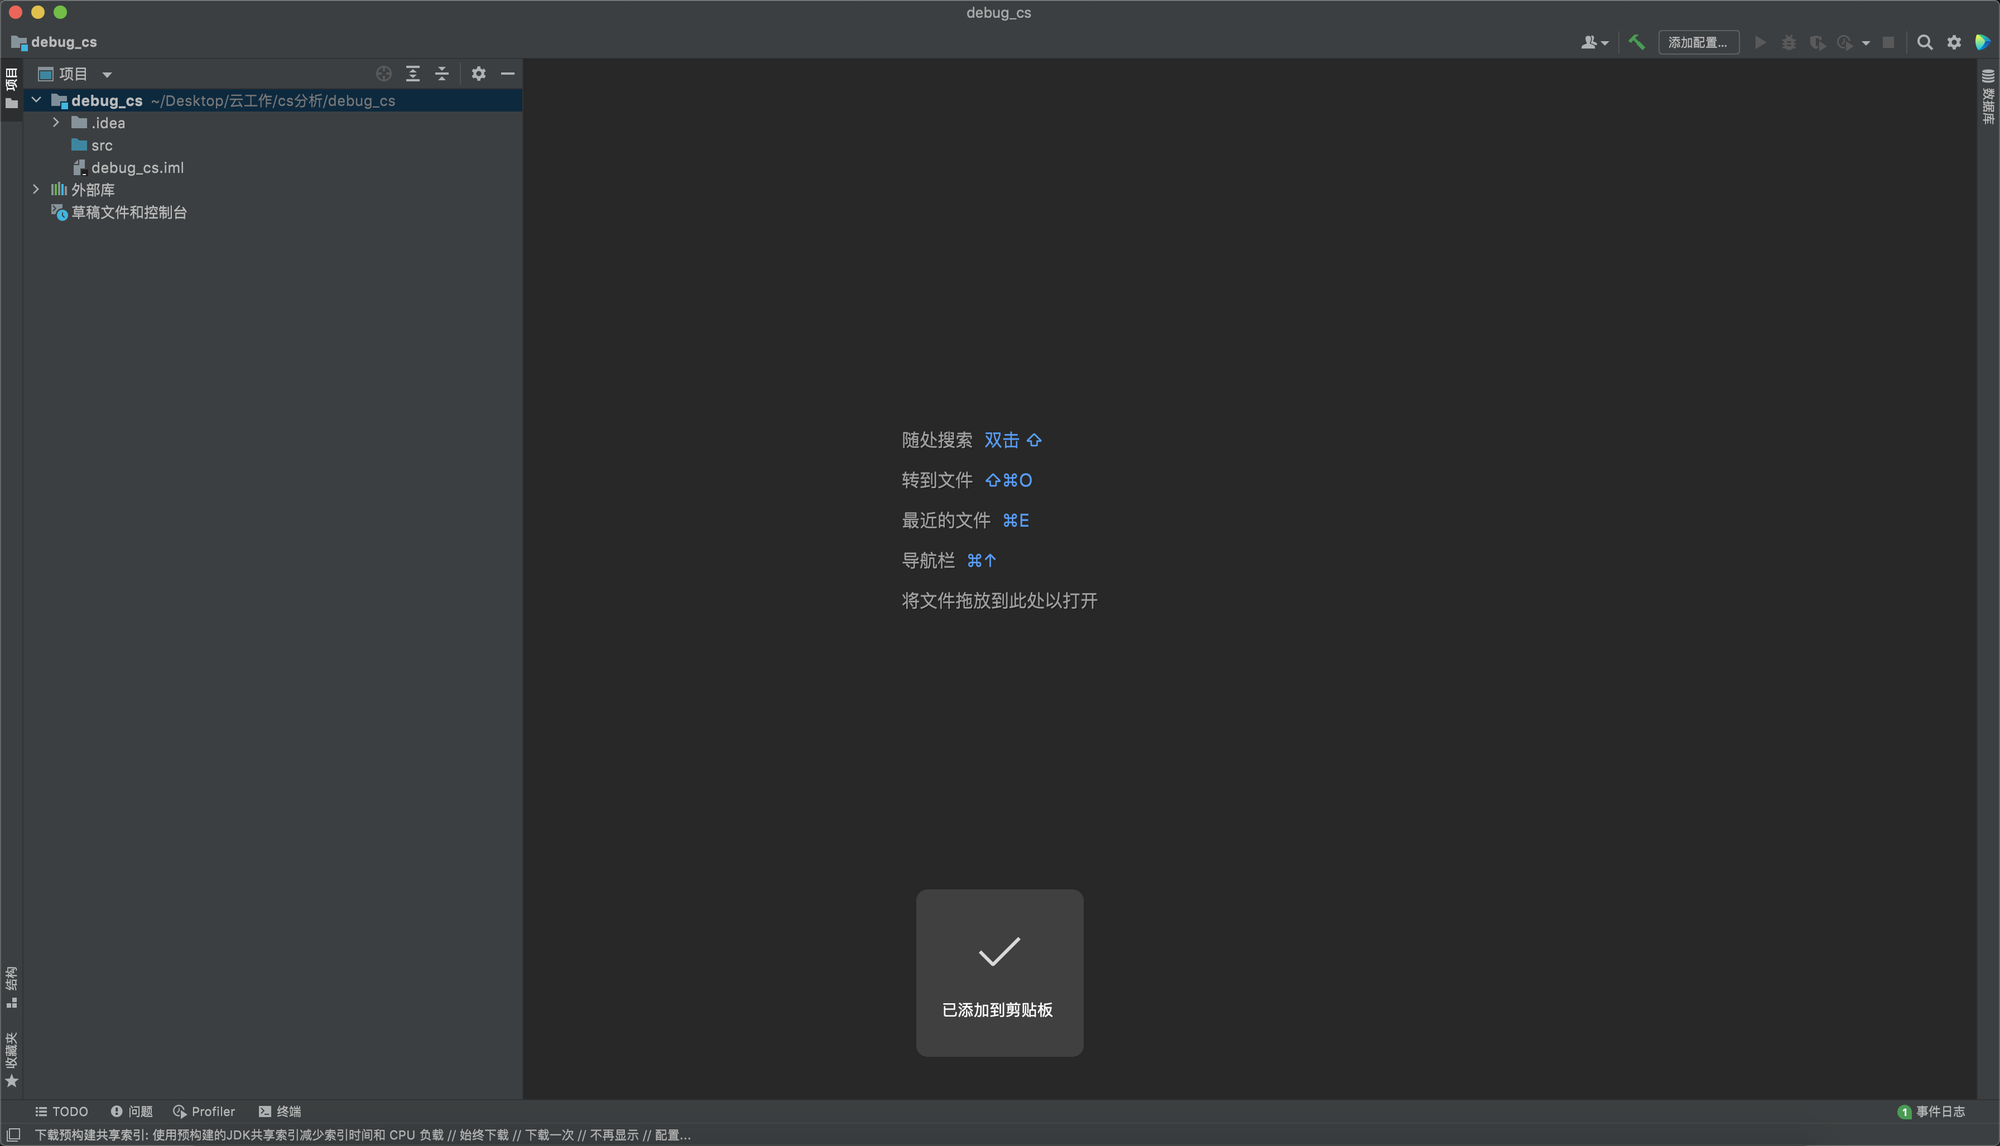
0x03 创建子目录及添加内容
创建
lib和decompiled_src文件夹,把反编译出来的java代码复制到decompiled_src文件夹中,把cobaltstrike.jar放到lib目录下,0x04 设置项目结构
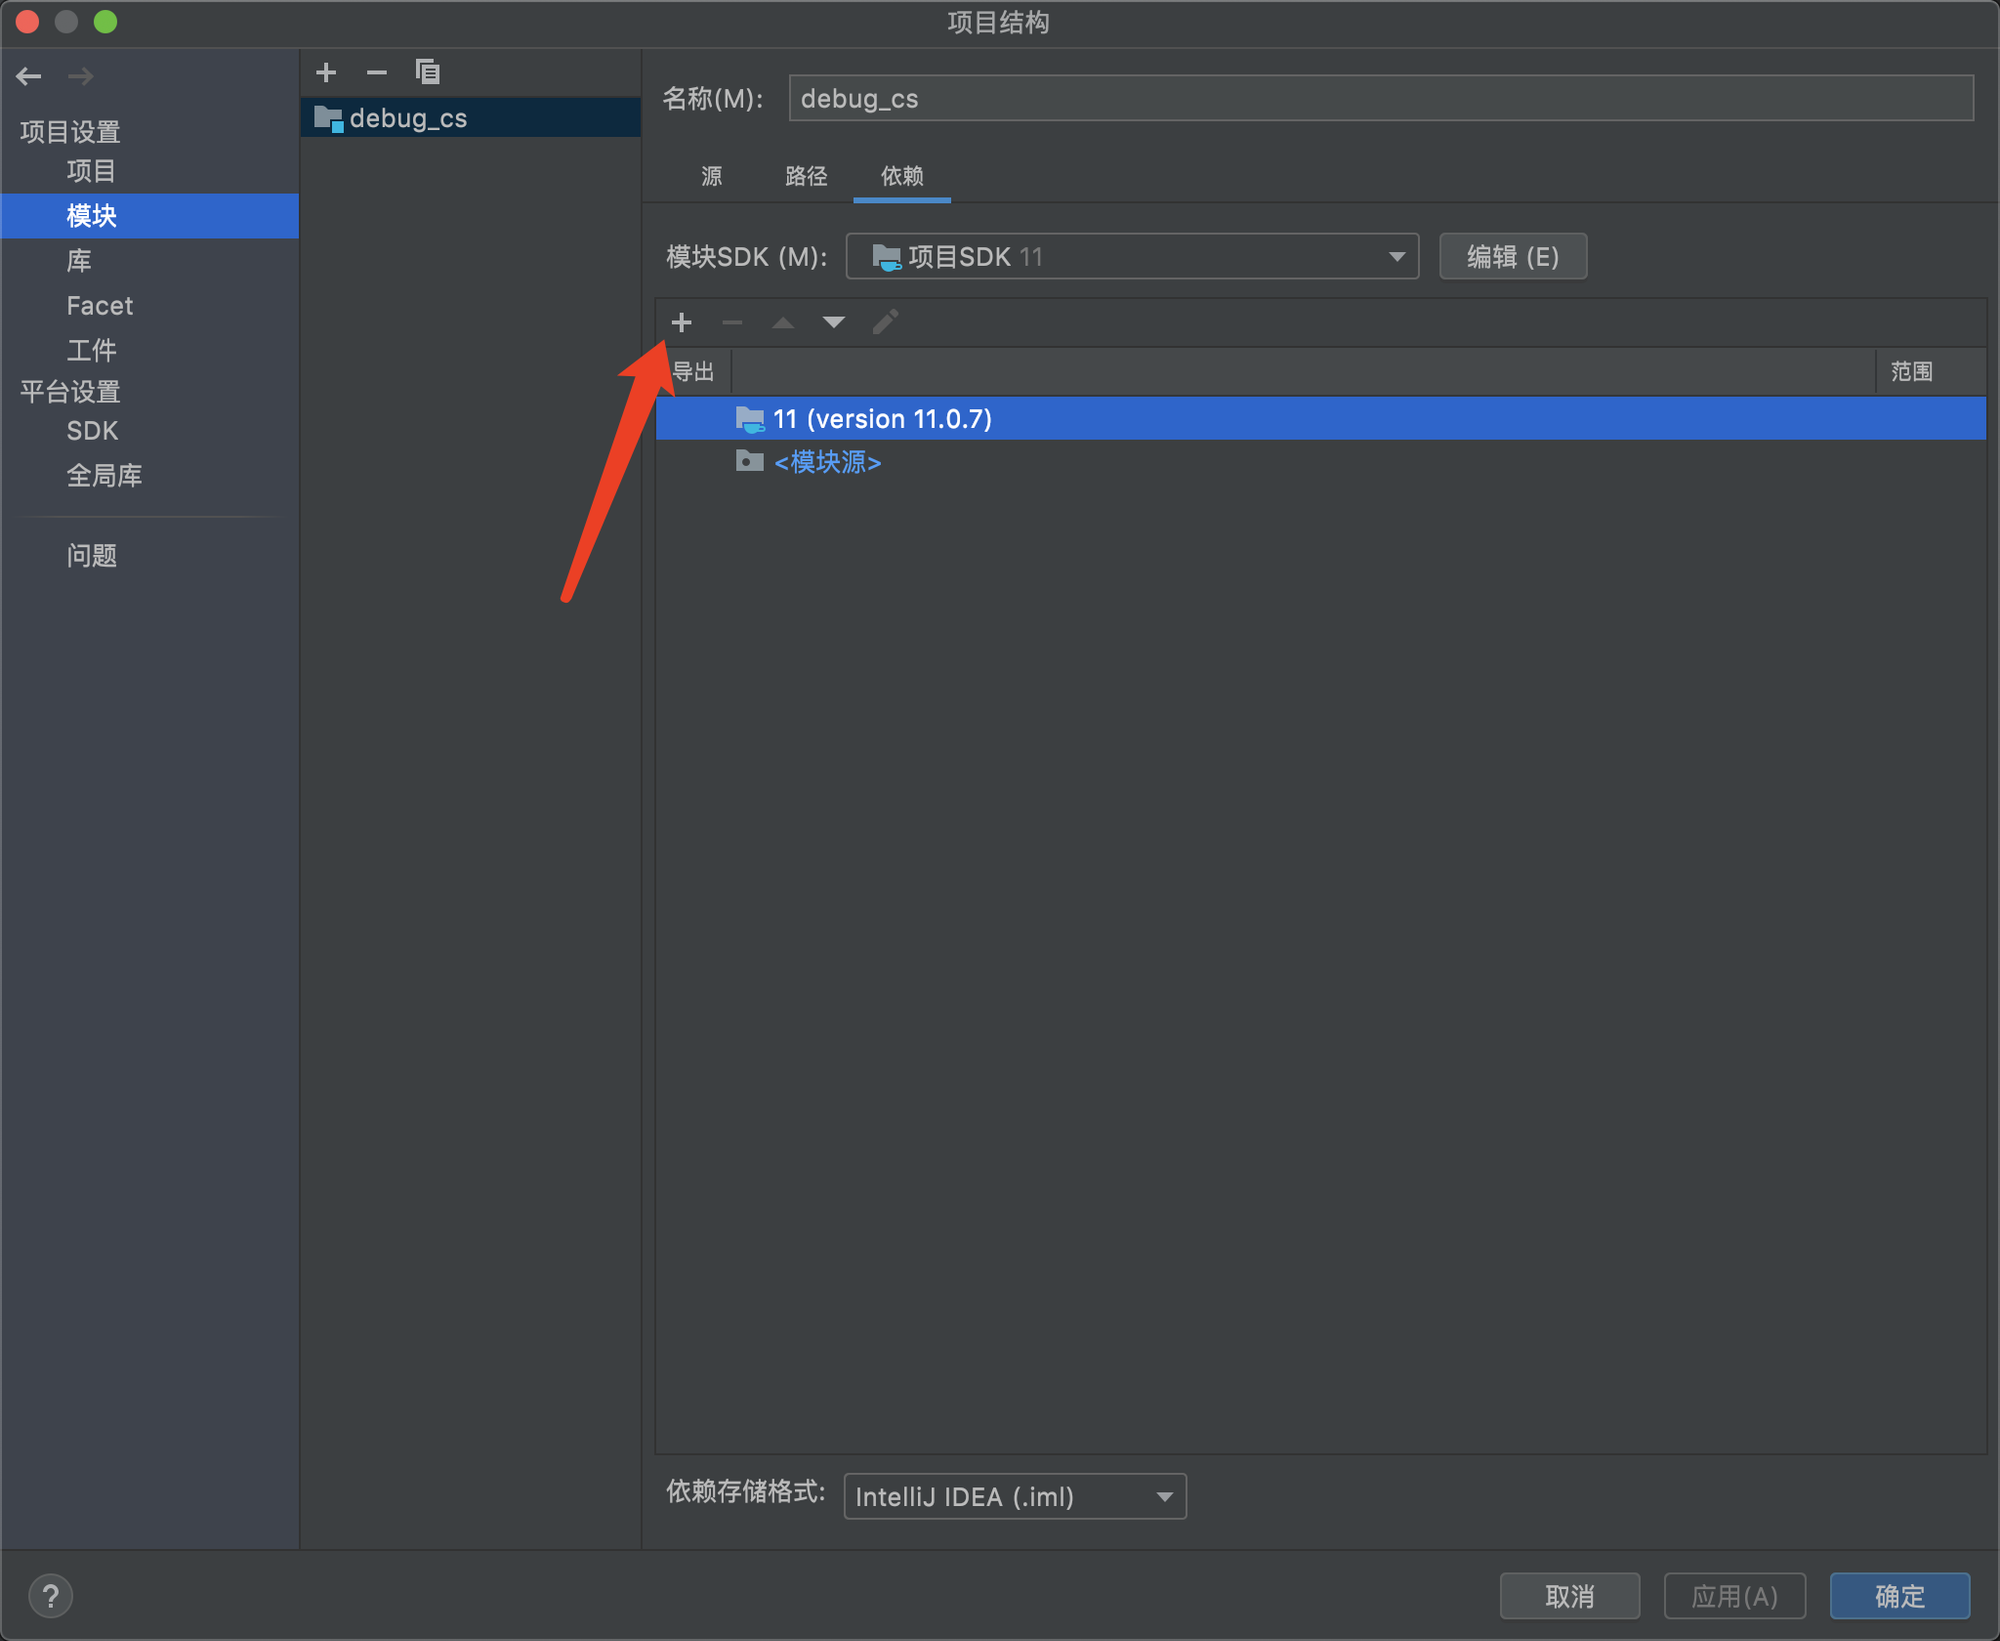
选择添加jar或者目录,选择lib目录下的jar文件,然后打上✅
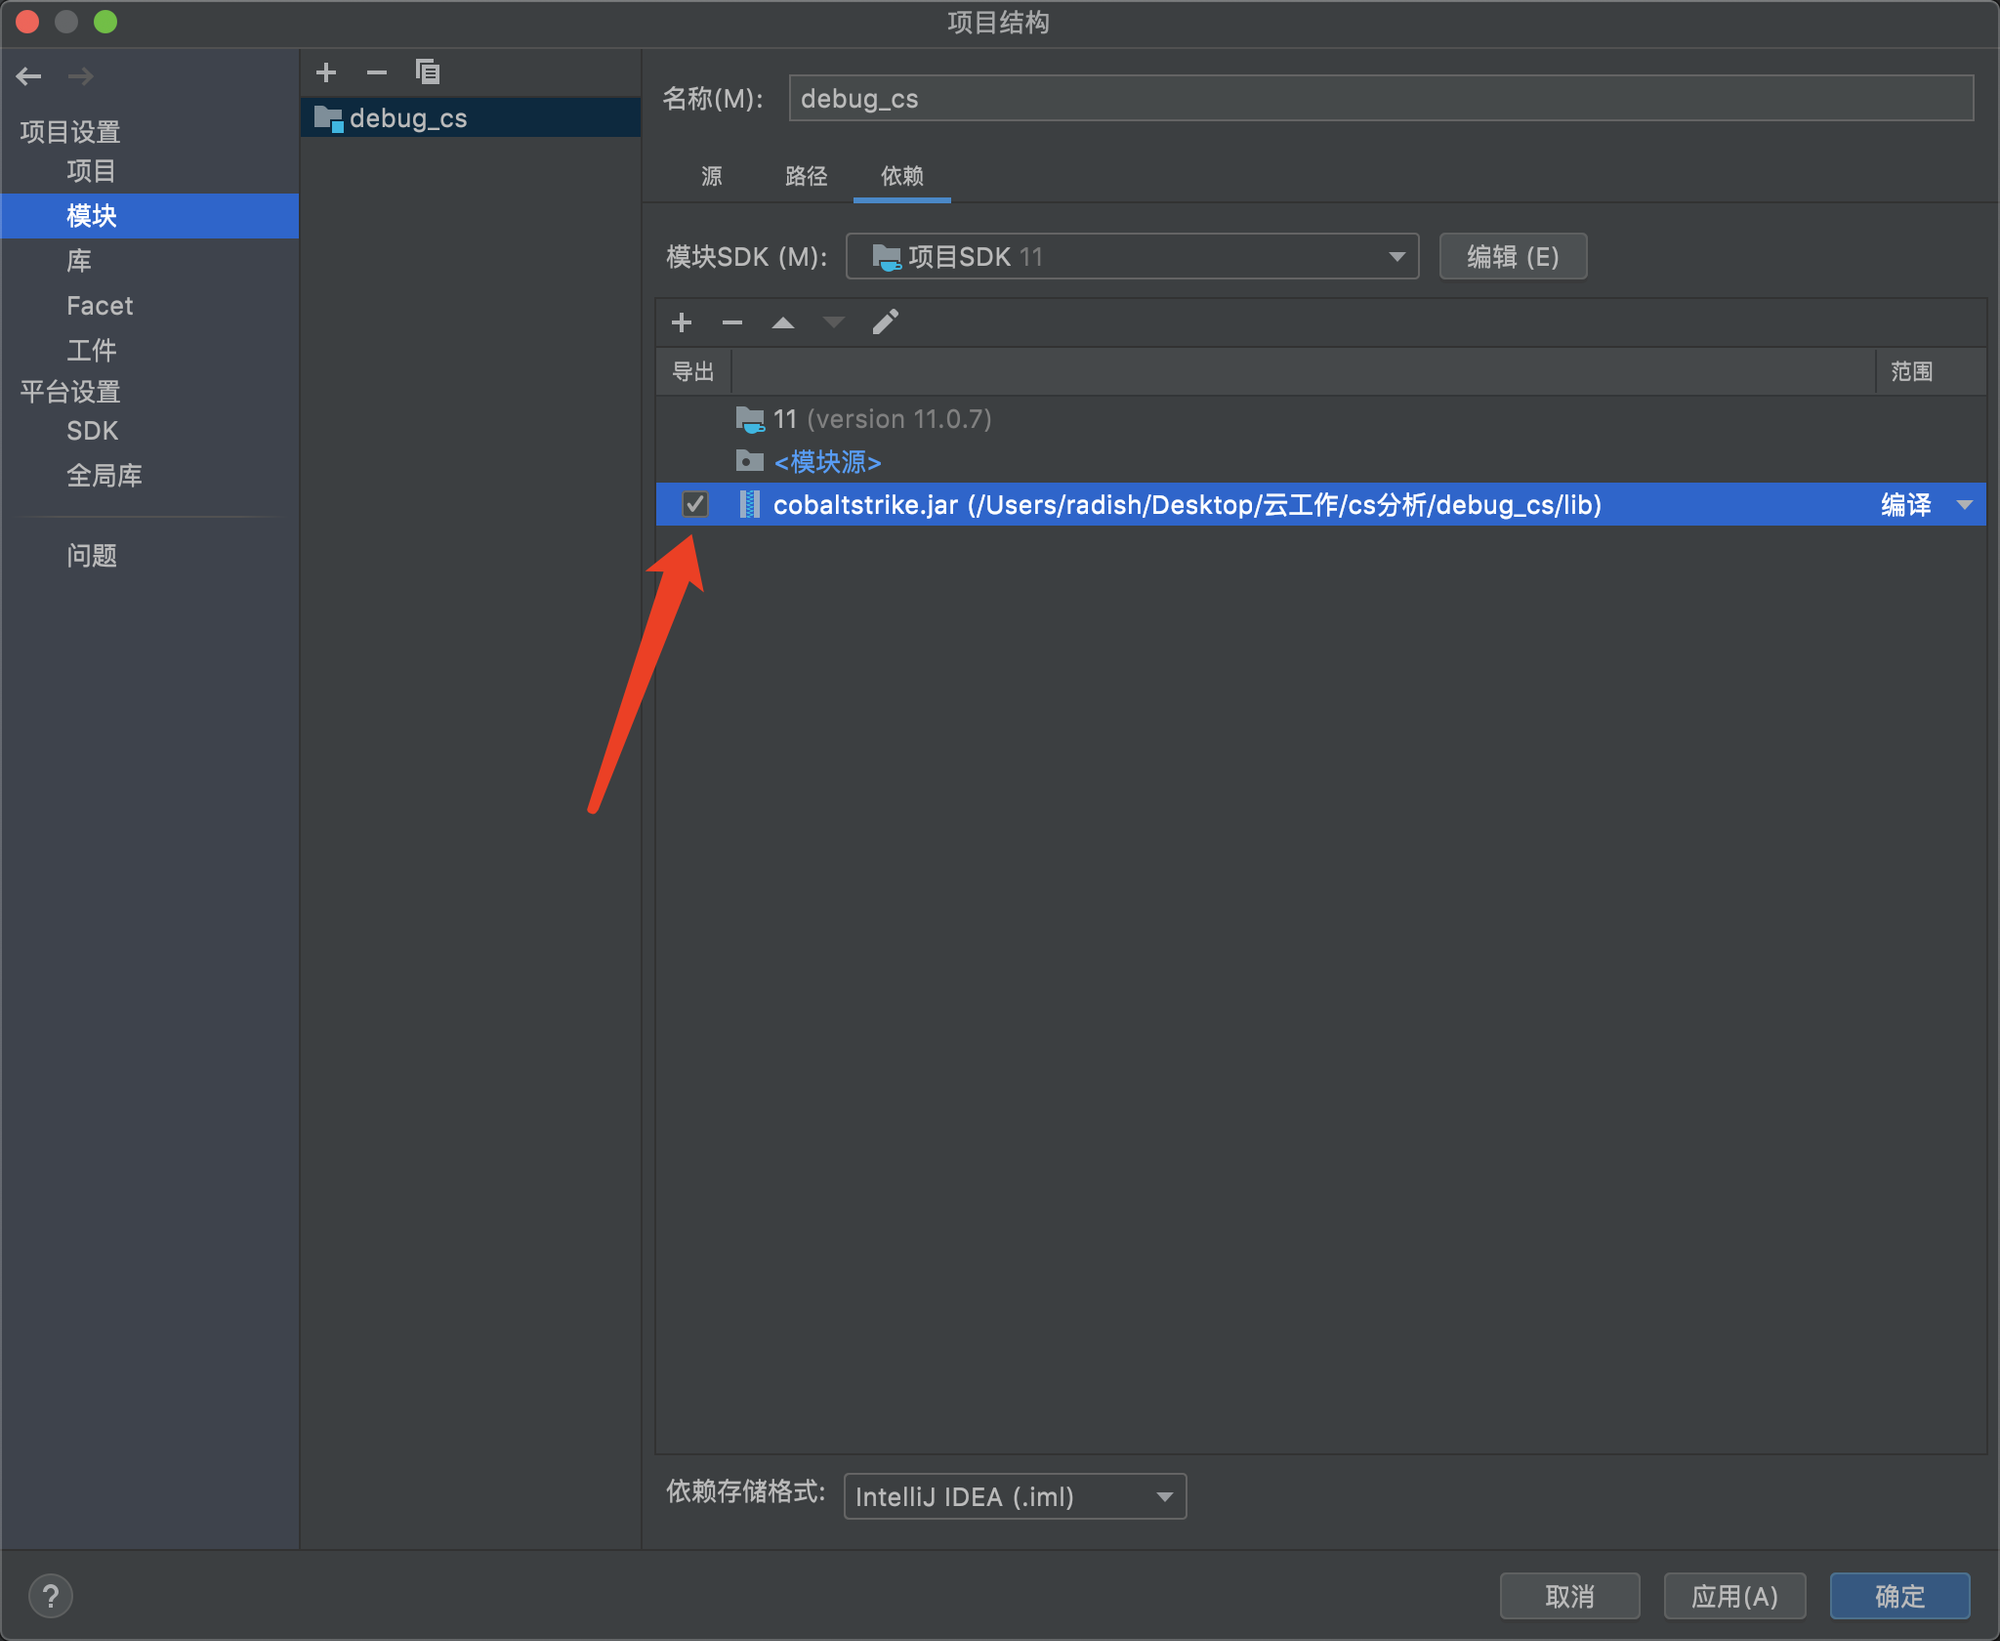
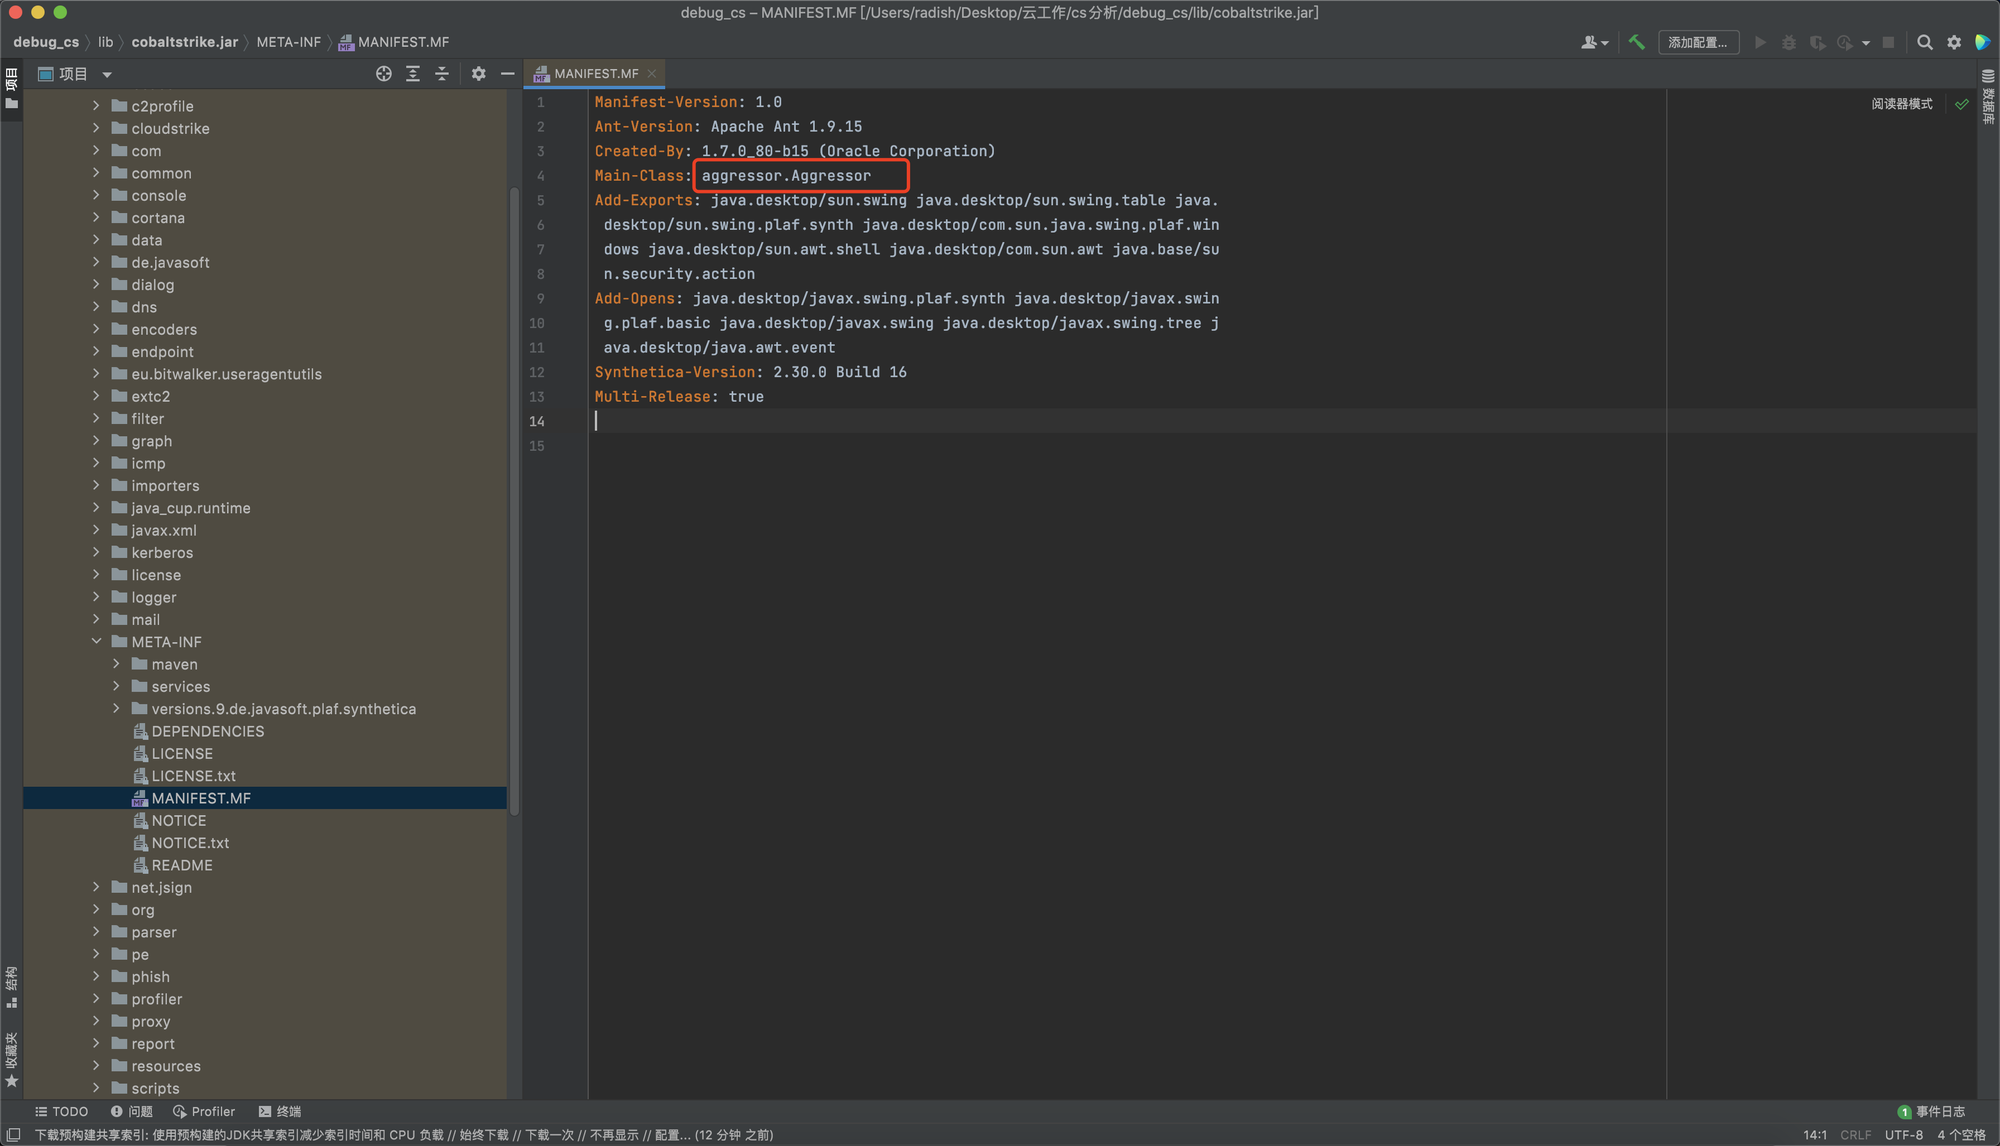
接着点应用即可添加依赖。然后进入到工件中进行如下操作,其中主类参考lib中的META-INF中的MANIFEST.MF
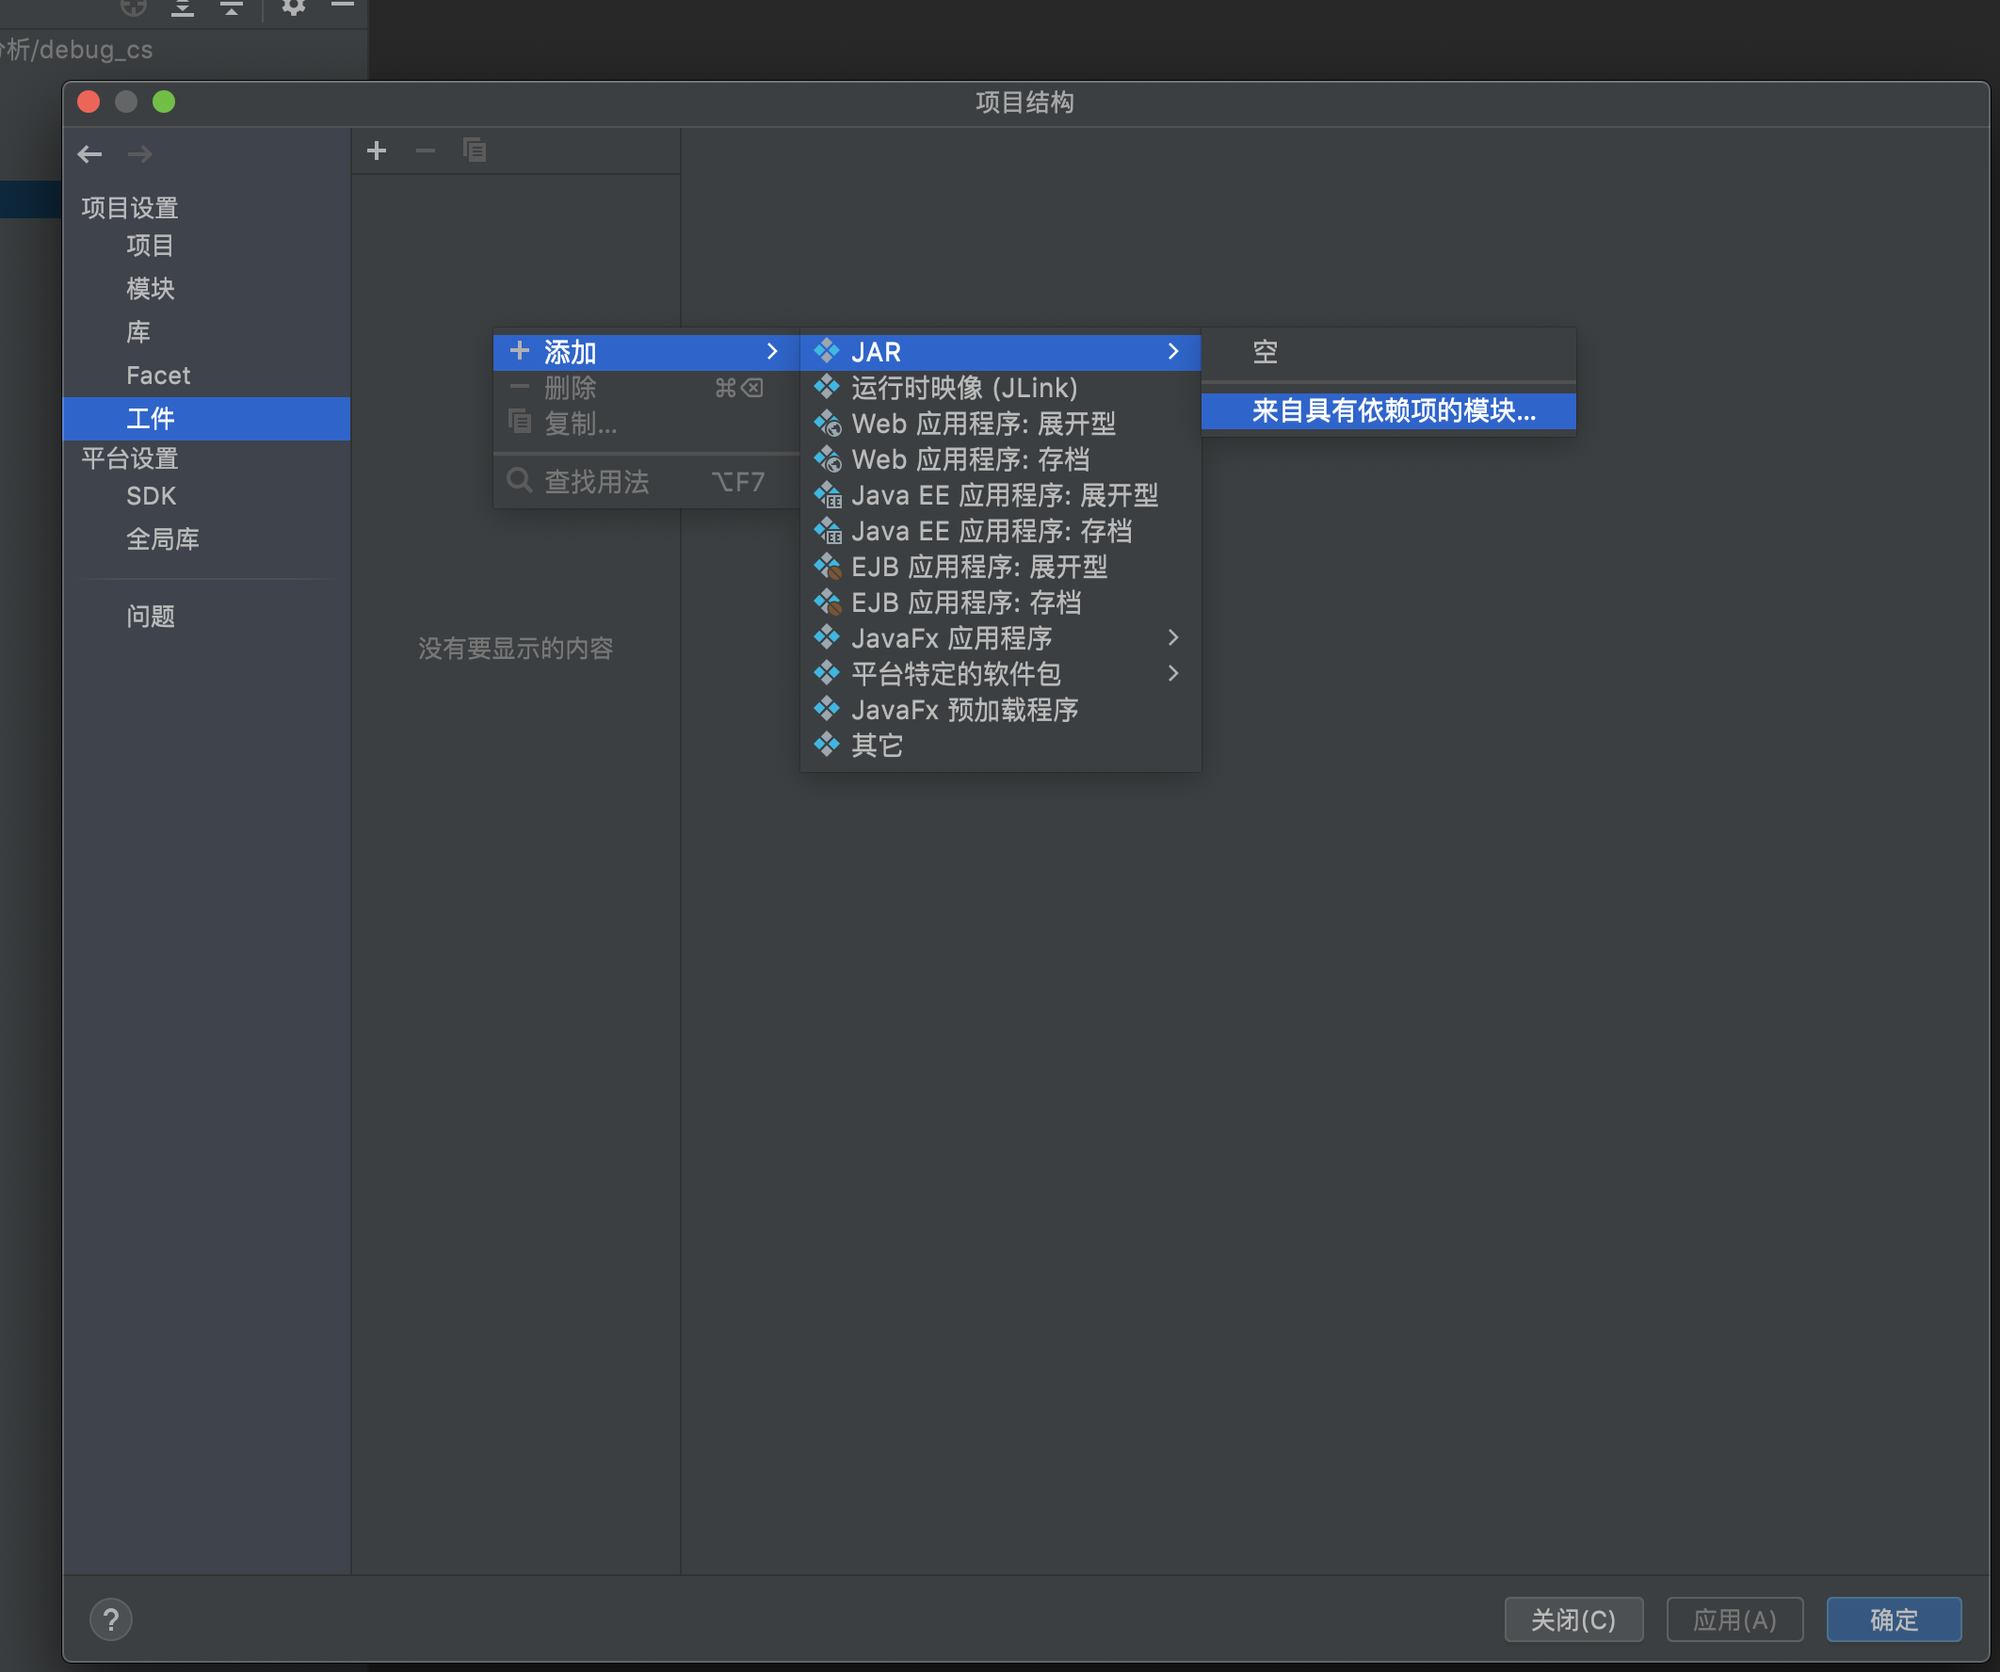
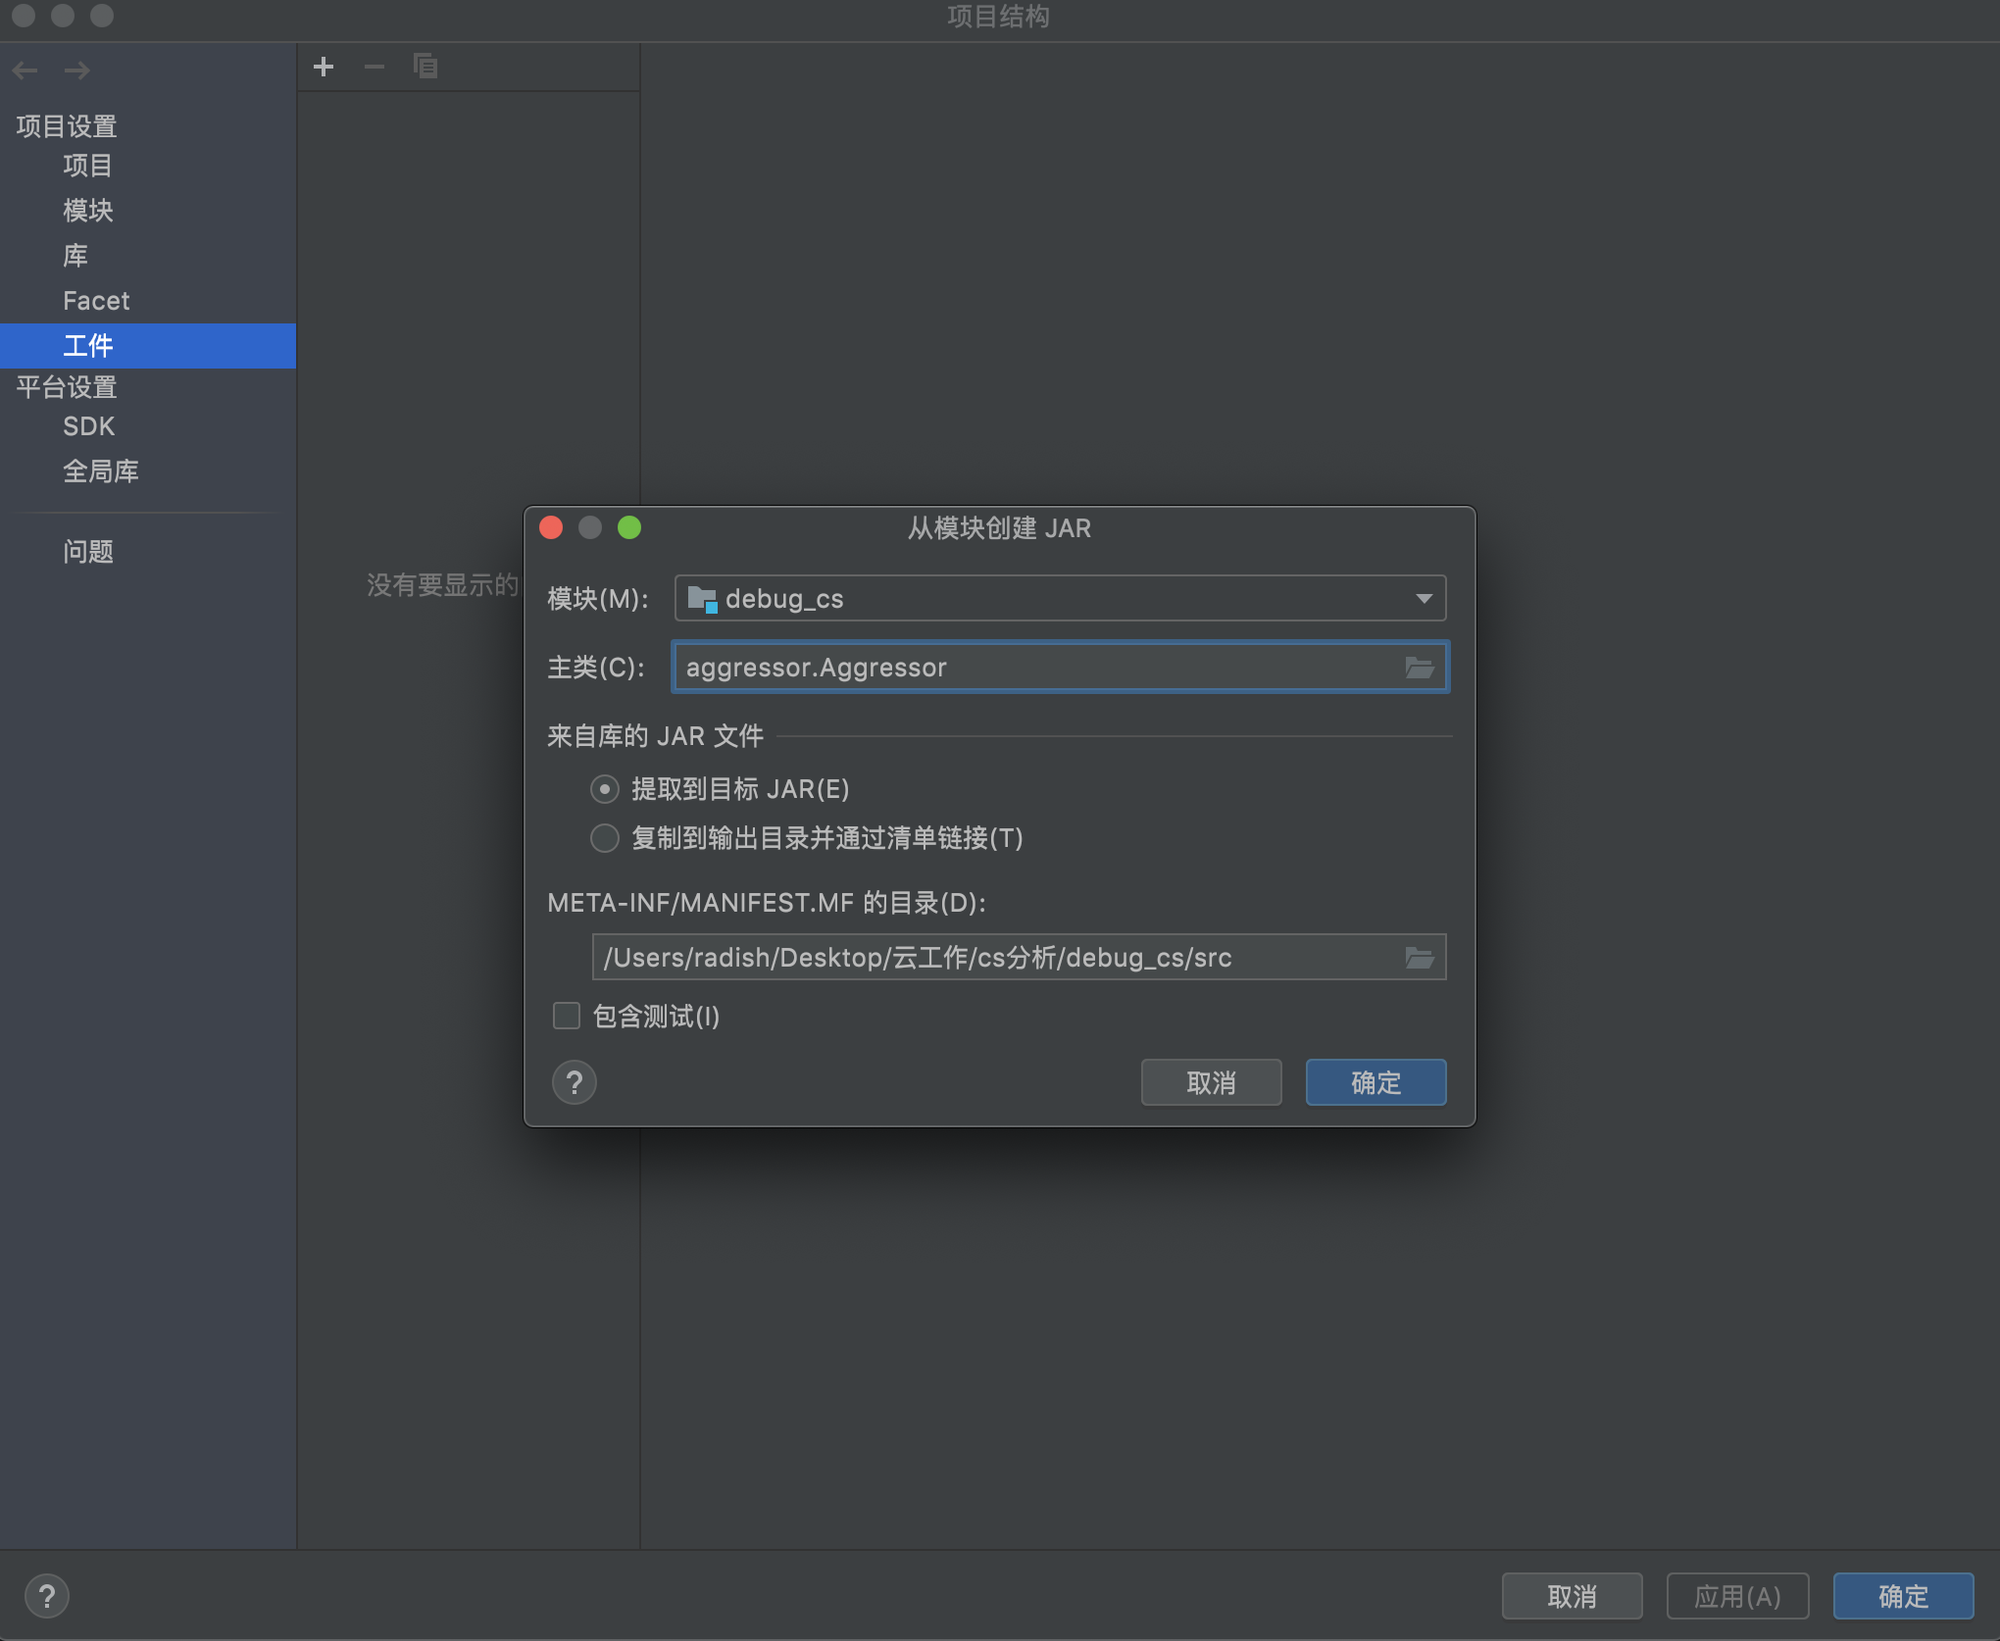
最终如下所示:
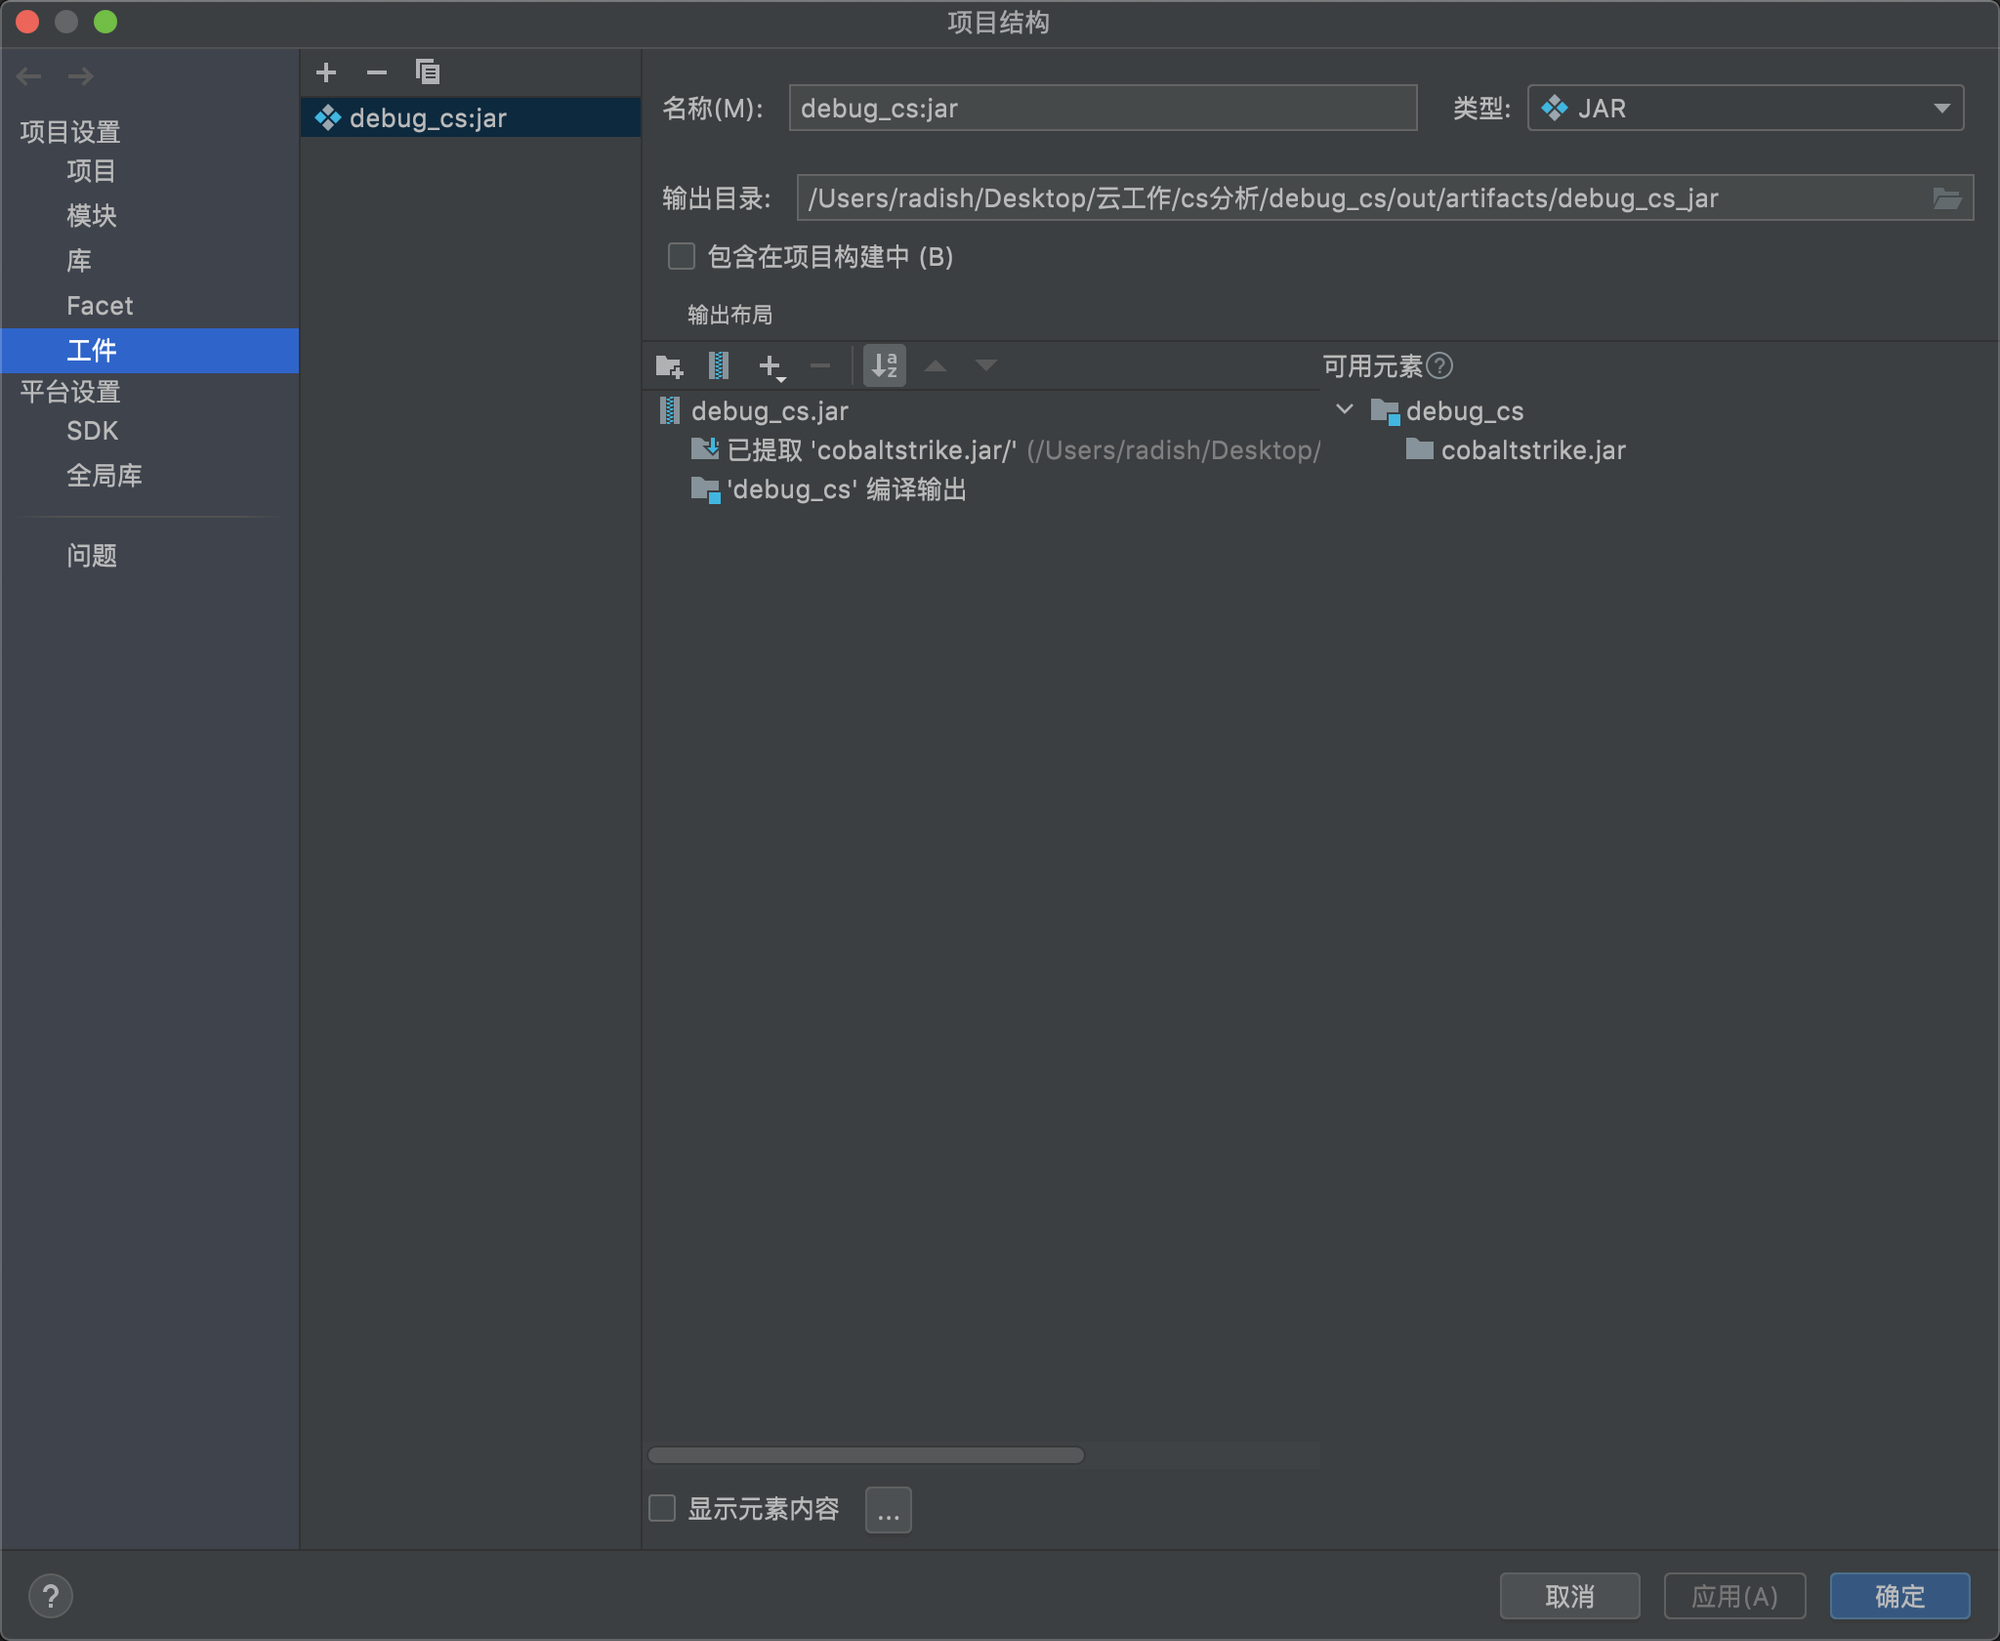
0x05 准备重新build项目
在decompiled_src找到aggressor,进行如下操作
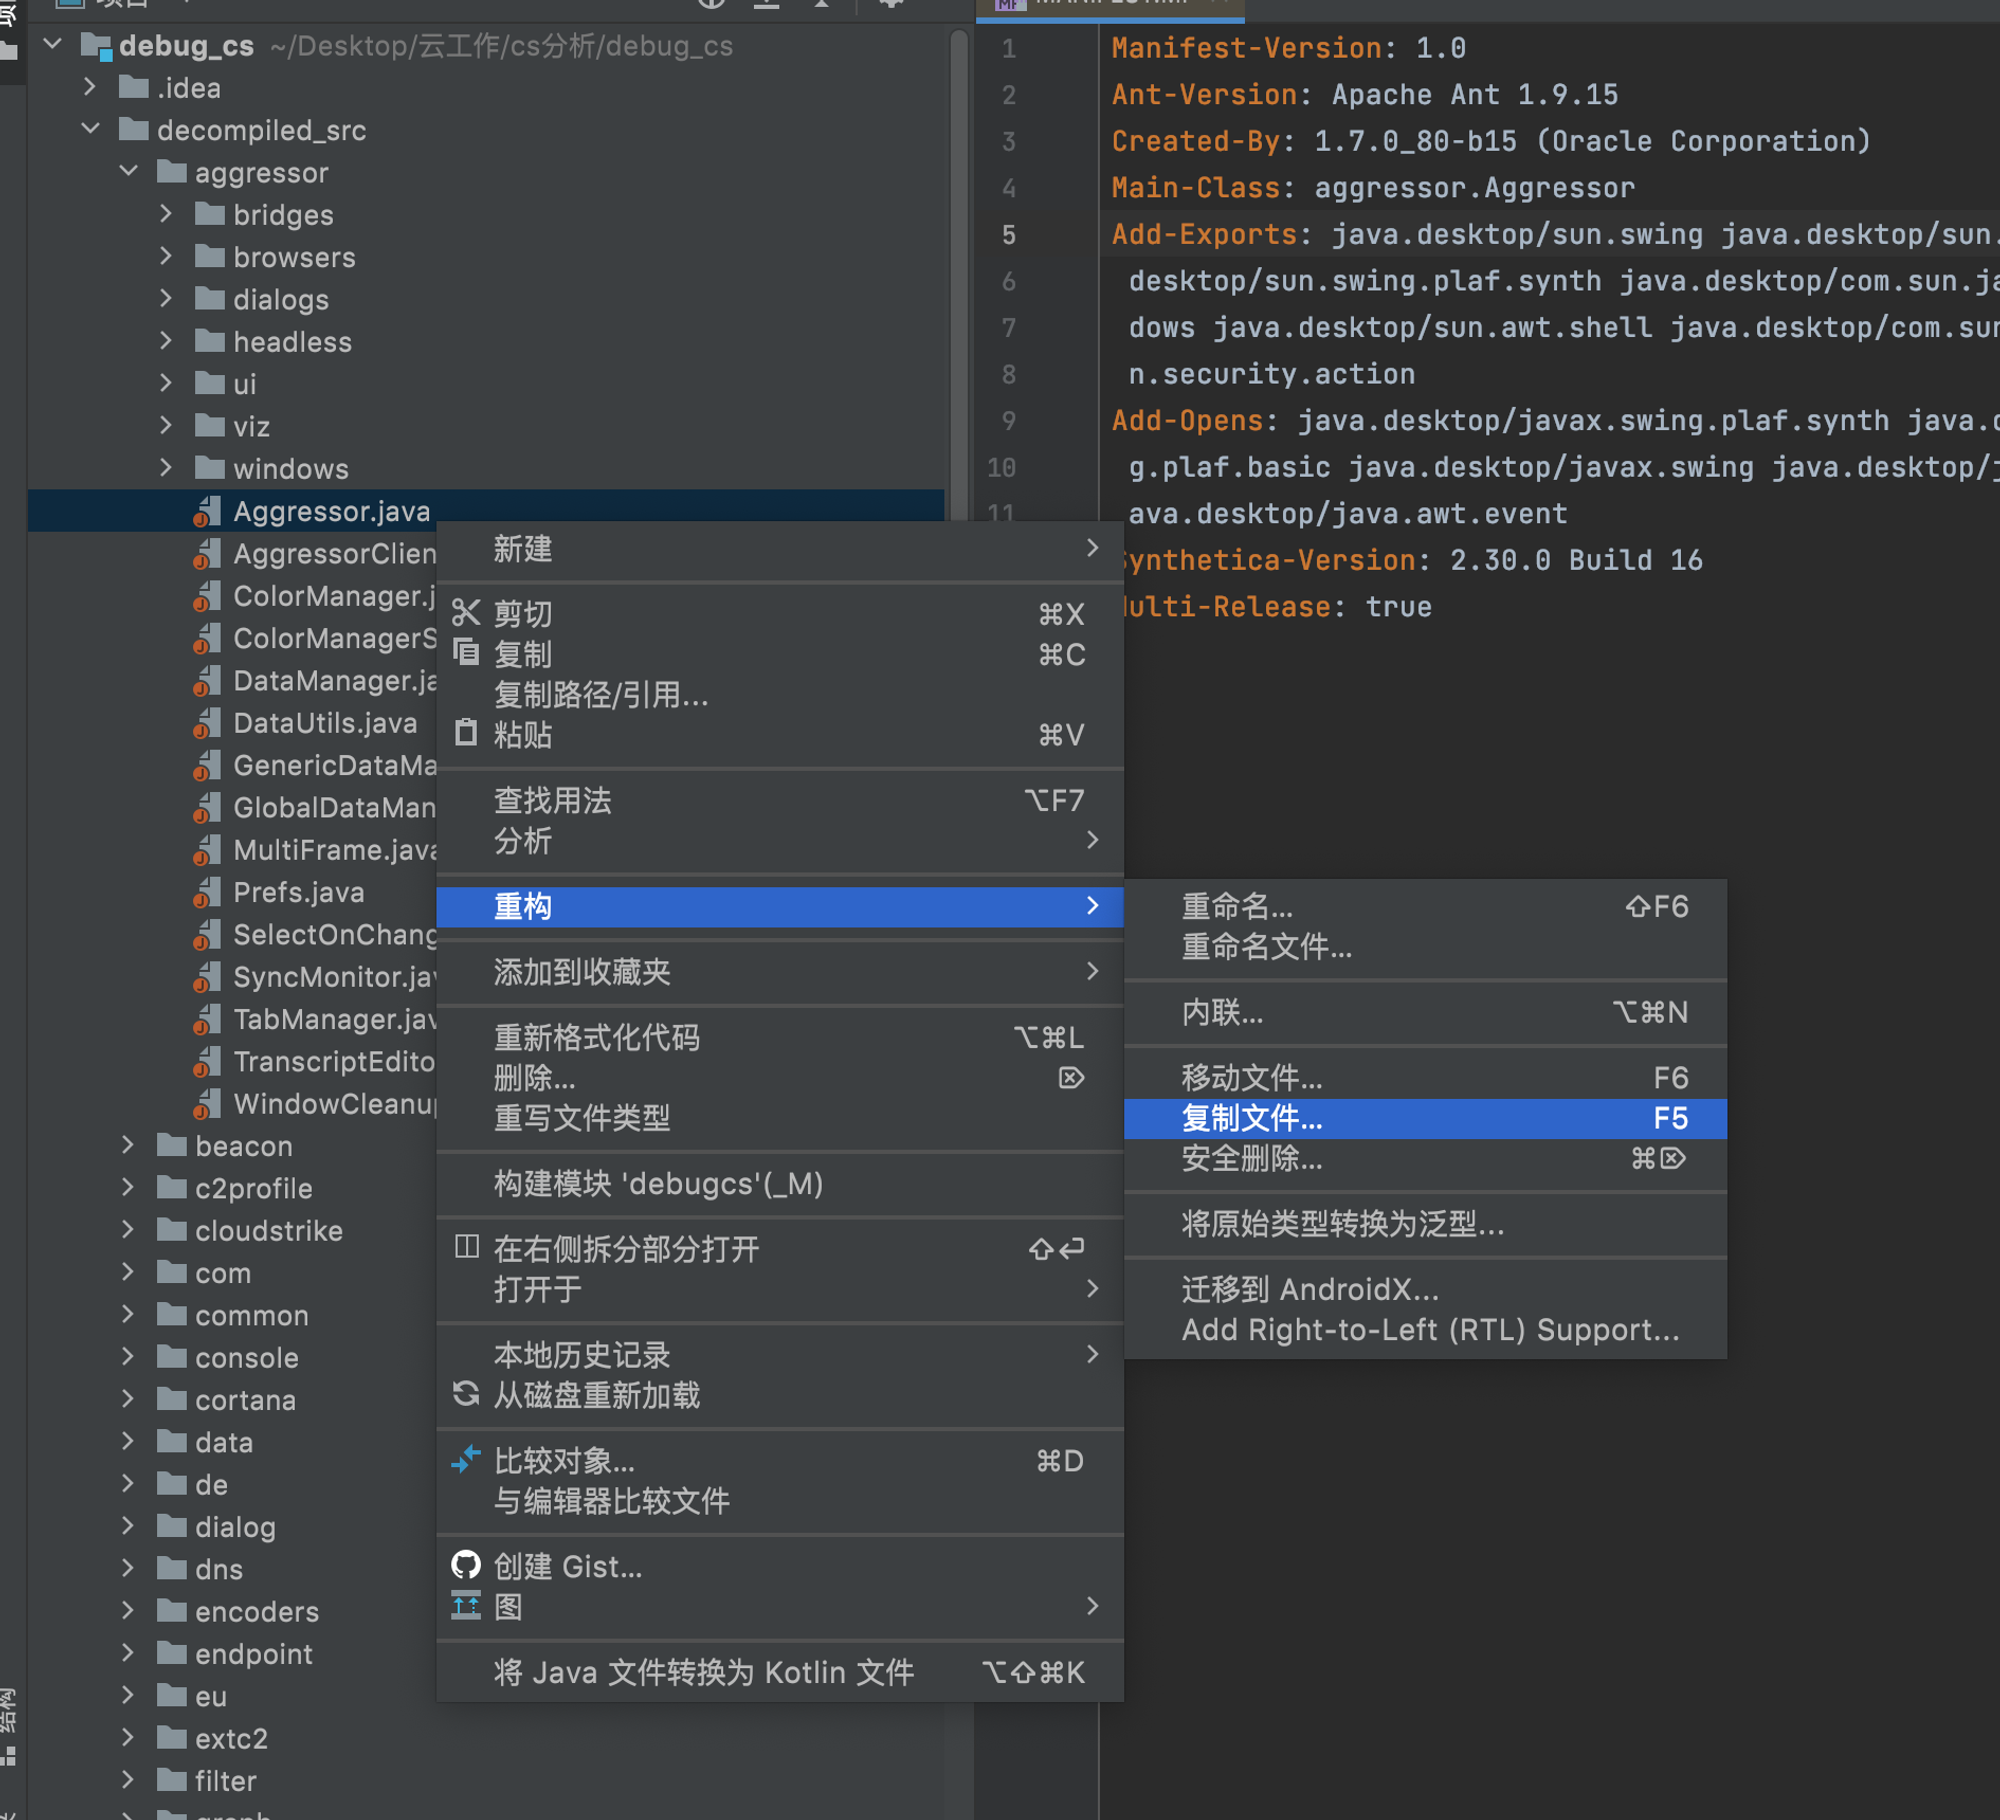
复制到src目录下,要保持原路径一样

最终如下所示:
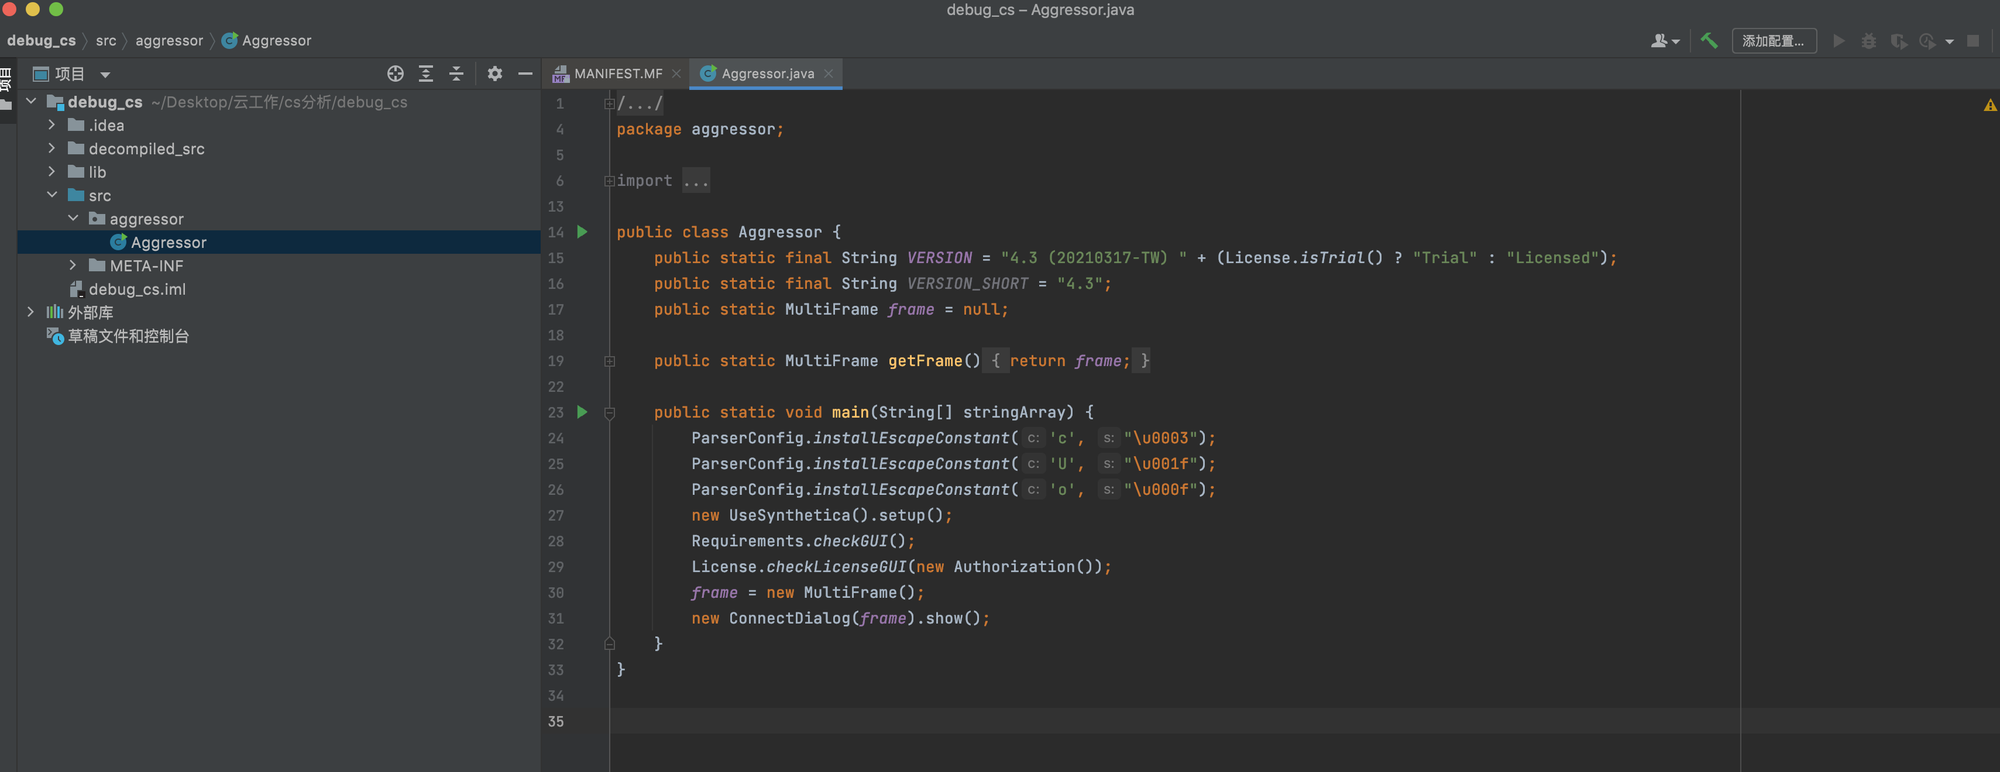
添加测试代码
/*
 * Decompiled with CFR 0.151.
 */
package aggressor;

import aggressor.MultiFrame;
import aggressor.dialogs.ConnectDialog;
import aggressor.ui.UseSynthetica;
import common.Authorization;
import common.License;
import common.Requirements;
import sleep.parser.ParserConfig;

import javax.swing.*;

public class Aggressor {
    public static final String VERSION = "4.3 (20210317-TW) " + (License.isTrial() ? "Trial" : "Licensed");
    public static final String VERSION_SHORT = "4.3";
    public static MultiFrame frame = null;

    public static MultiFrame getFrame() {
        return frame;
    }

    public static void main(String[] stringArray) {
        JOptionPane.showMessageDialog(null,"hello radish");//new add
        ParserConfig.installEscapeConstant('c', "\u0003");
        ParserConfig.installEscapeConstant('U', "\u001f");
        ParserConfig.installEscapeConstant('o', "\u000f");
        new UseSynthetica().setup();
        Requirements.checkGUI();
        License.checkLicenseGUI(new Authorization());
        frame = new MultiFrame();
        new ConnectDialog(frame).show();
    }
}
然后进行build
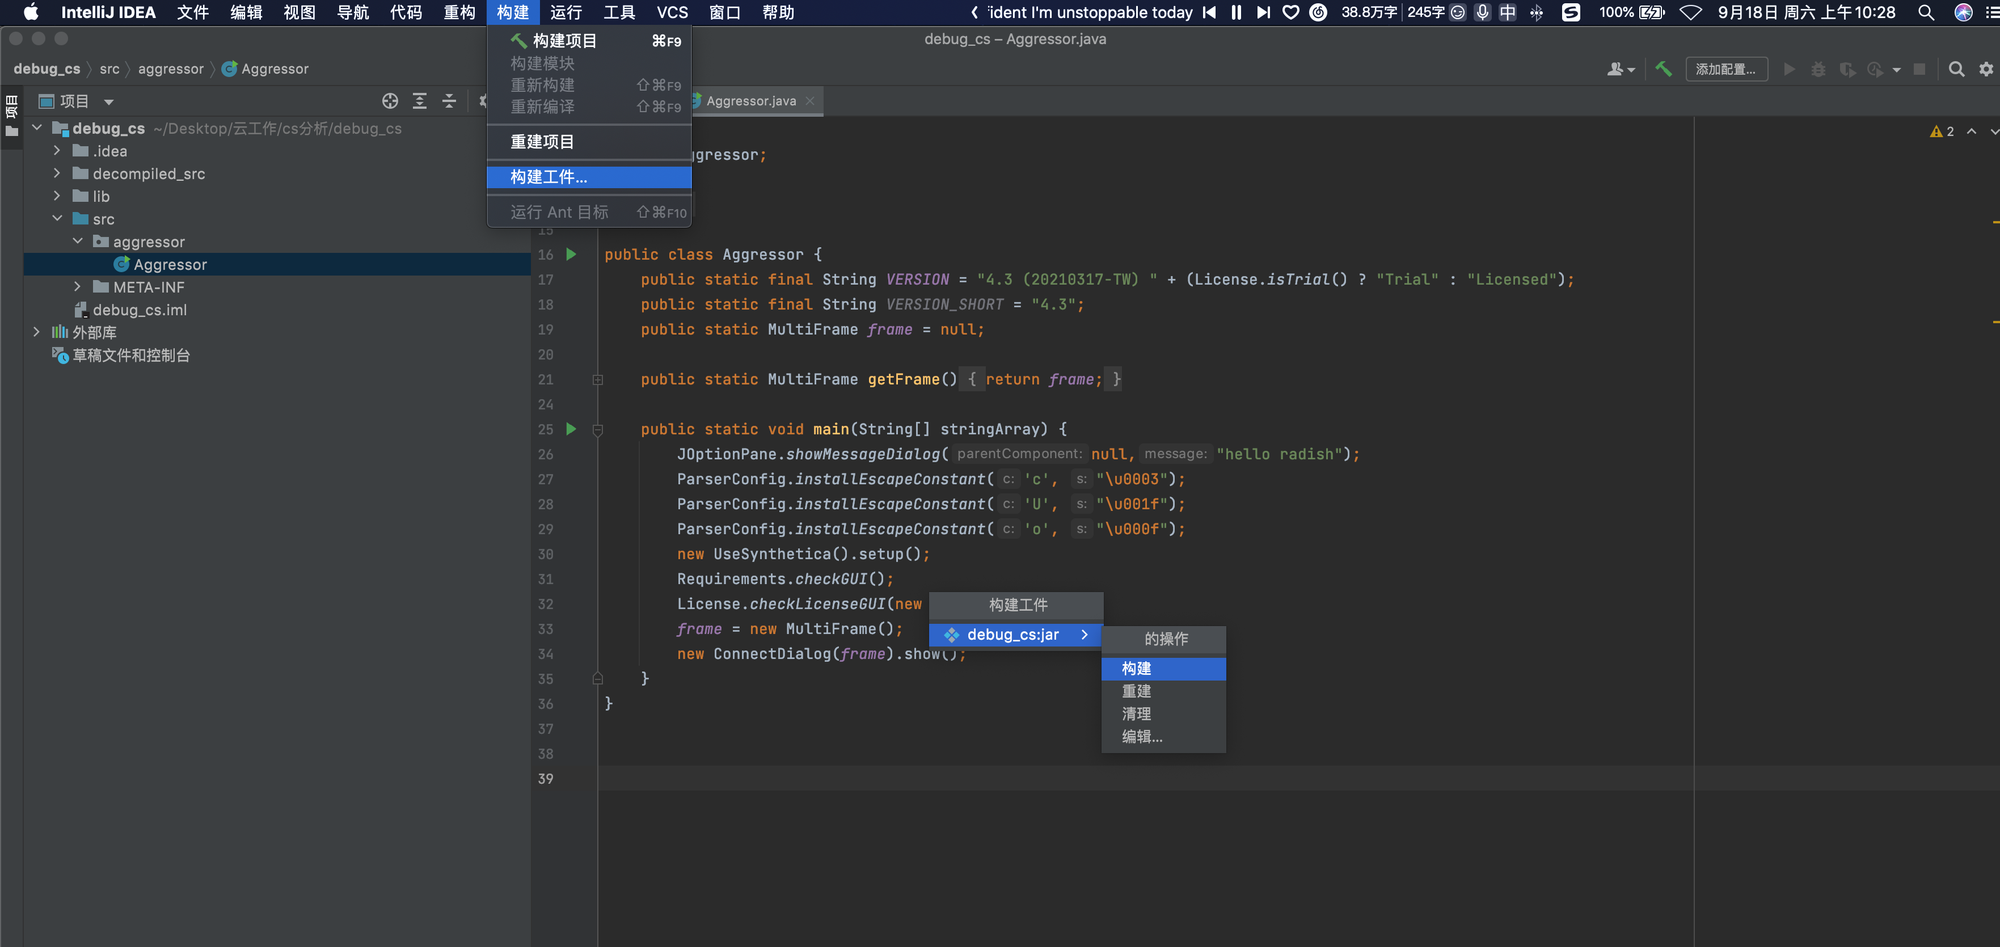
左下角出现成功

会在项目根目录下有一个out文件,新编译的jar包就在里面
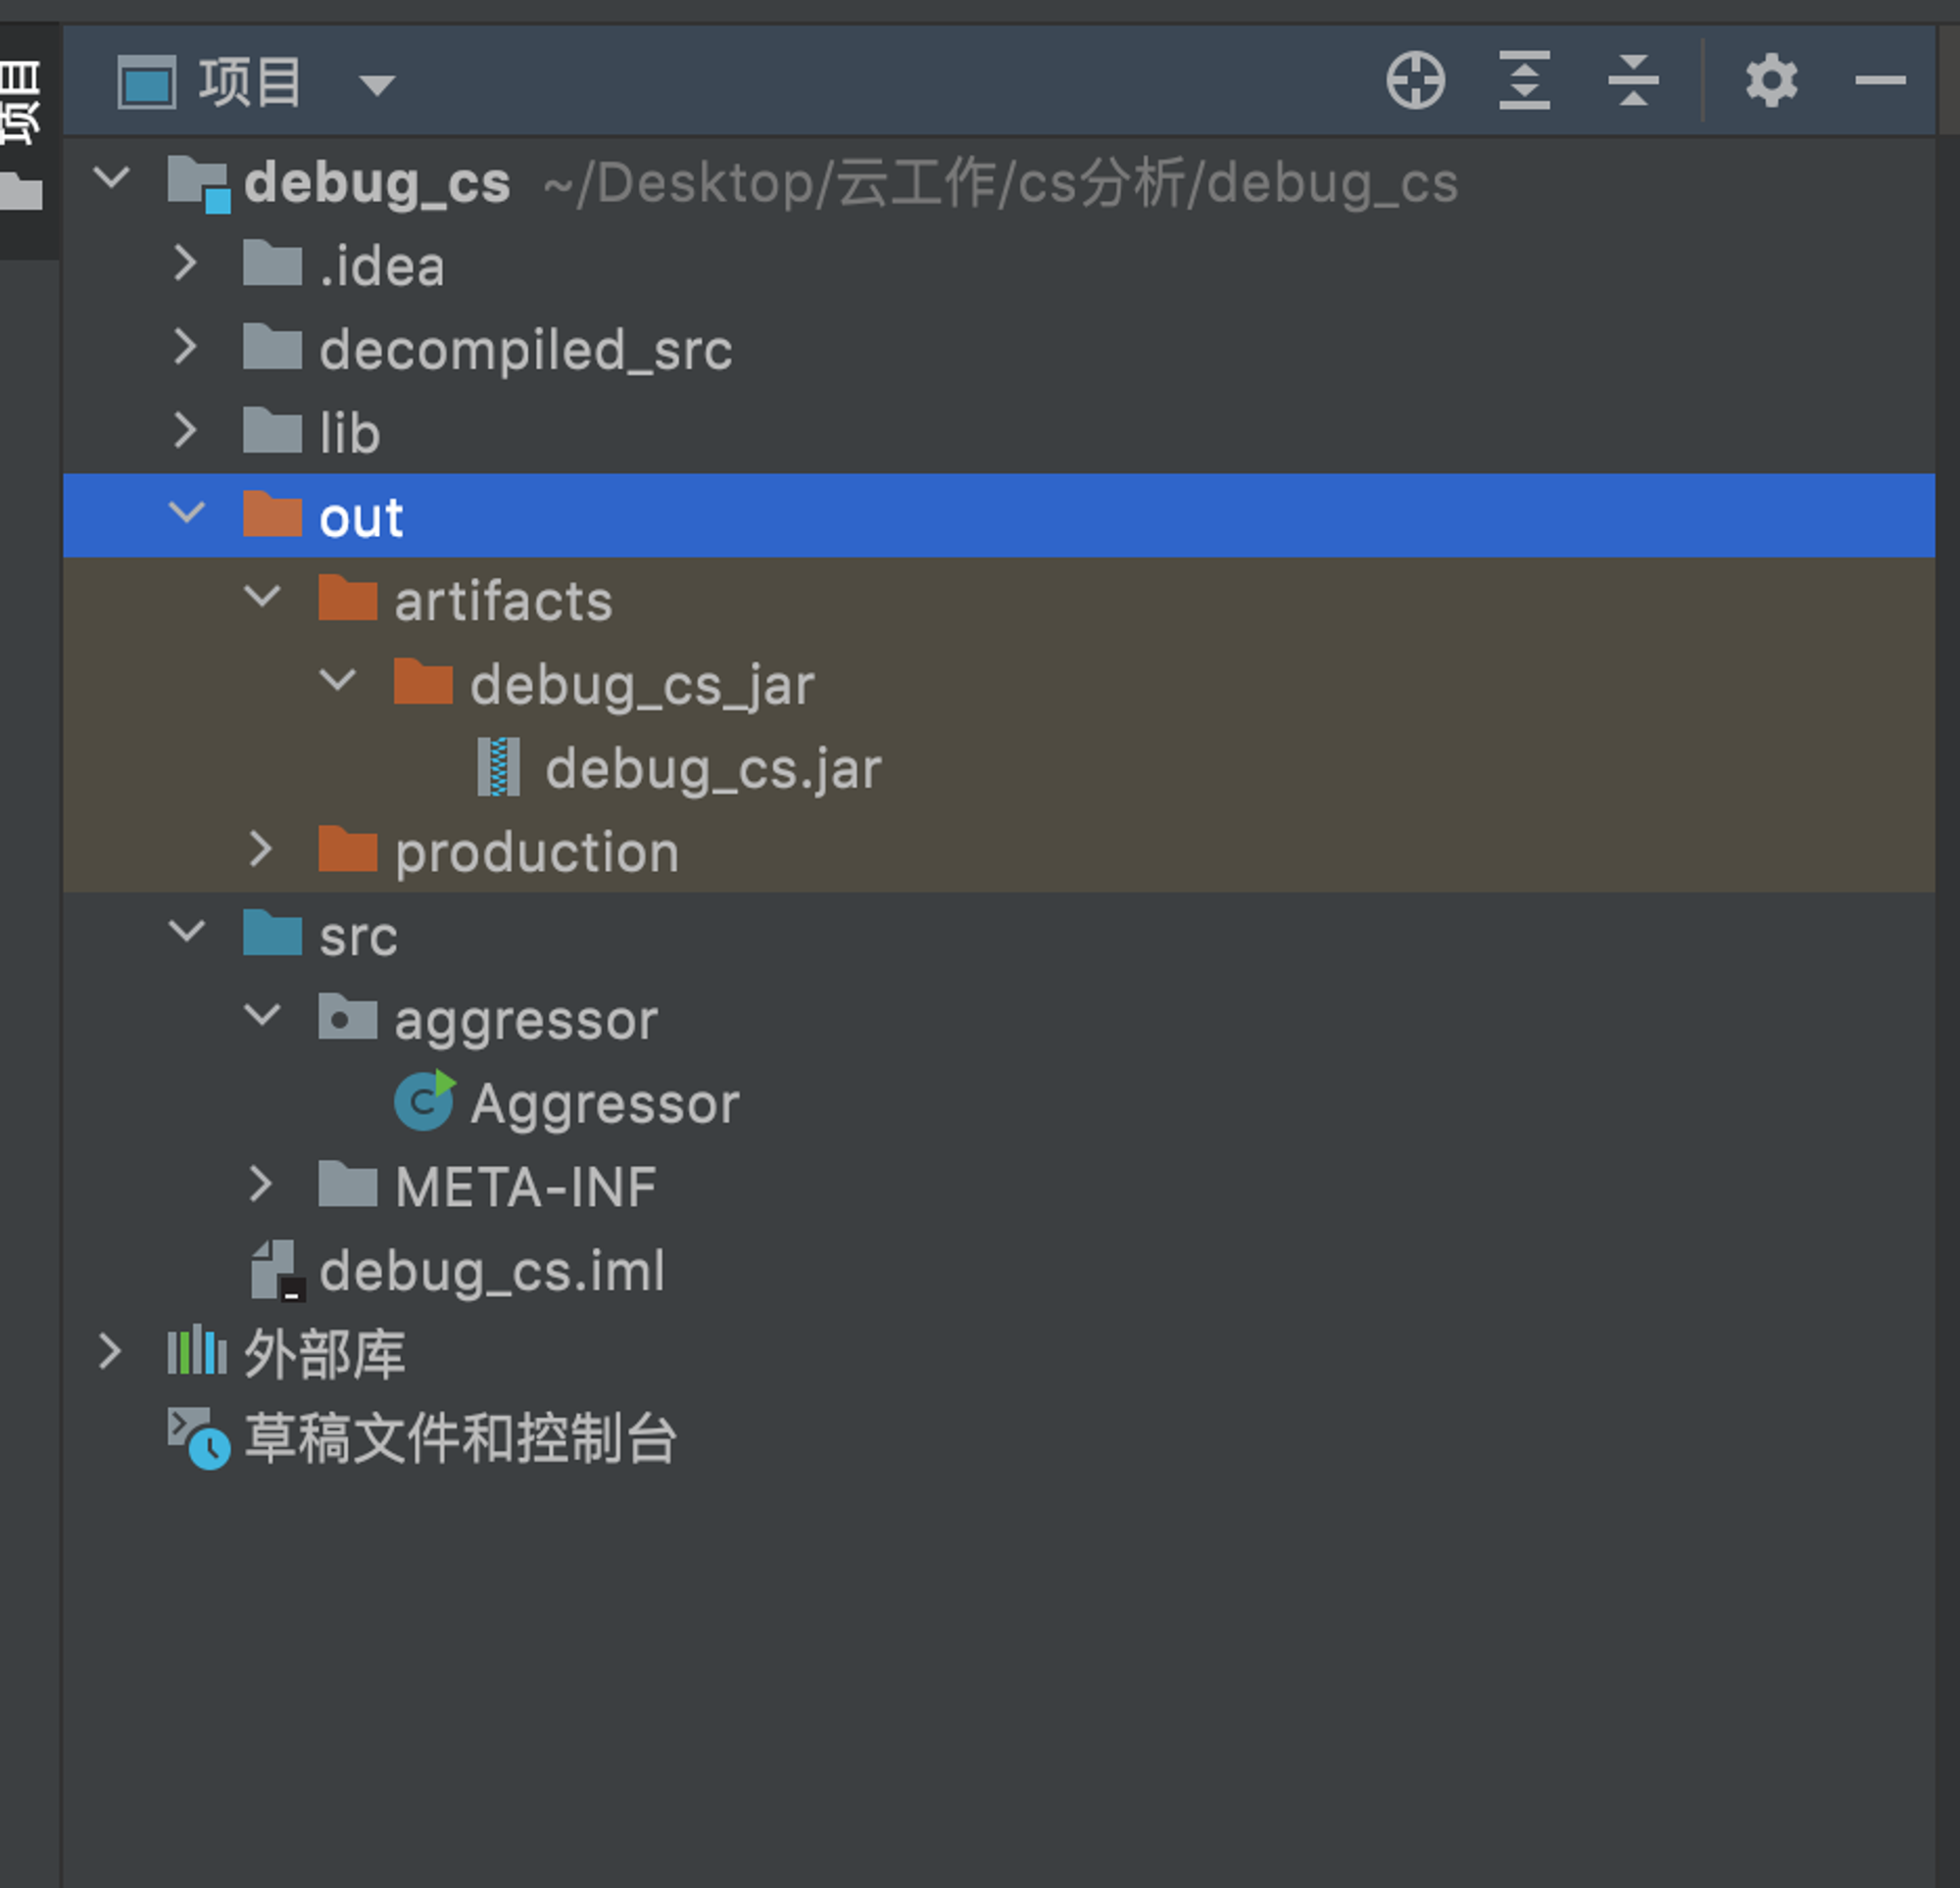
0x06 Debug客户端
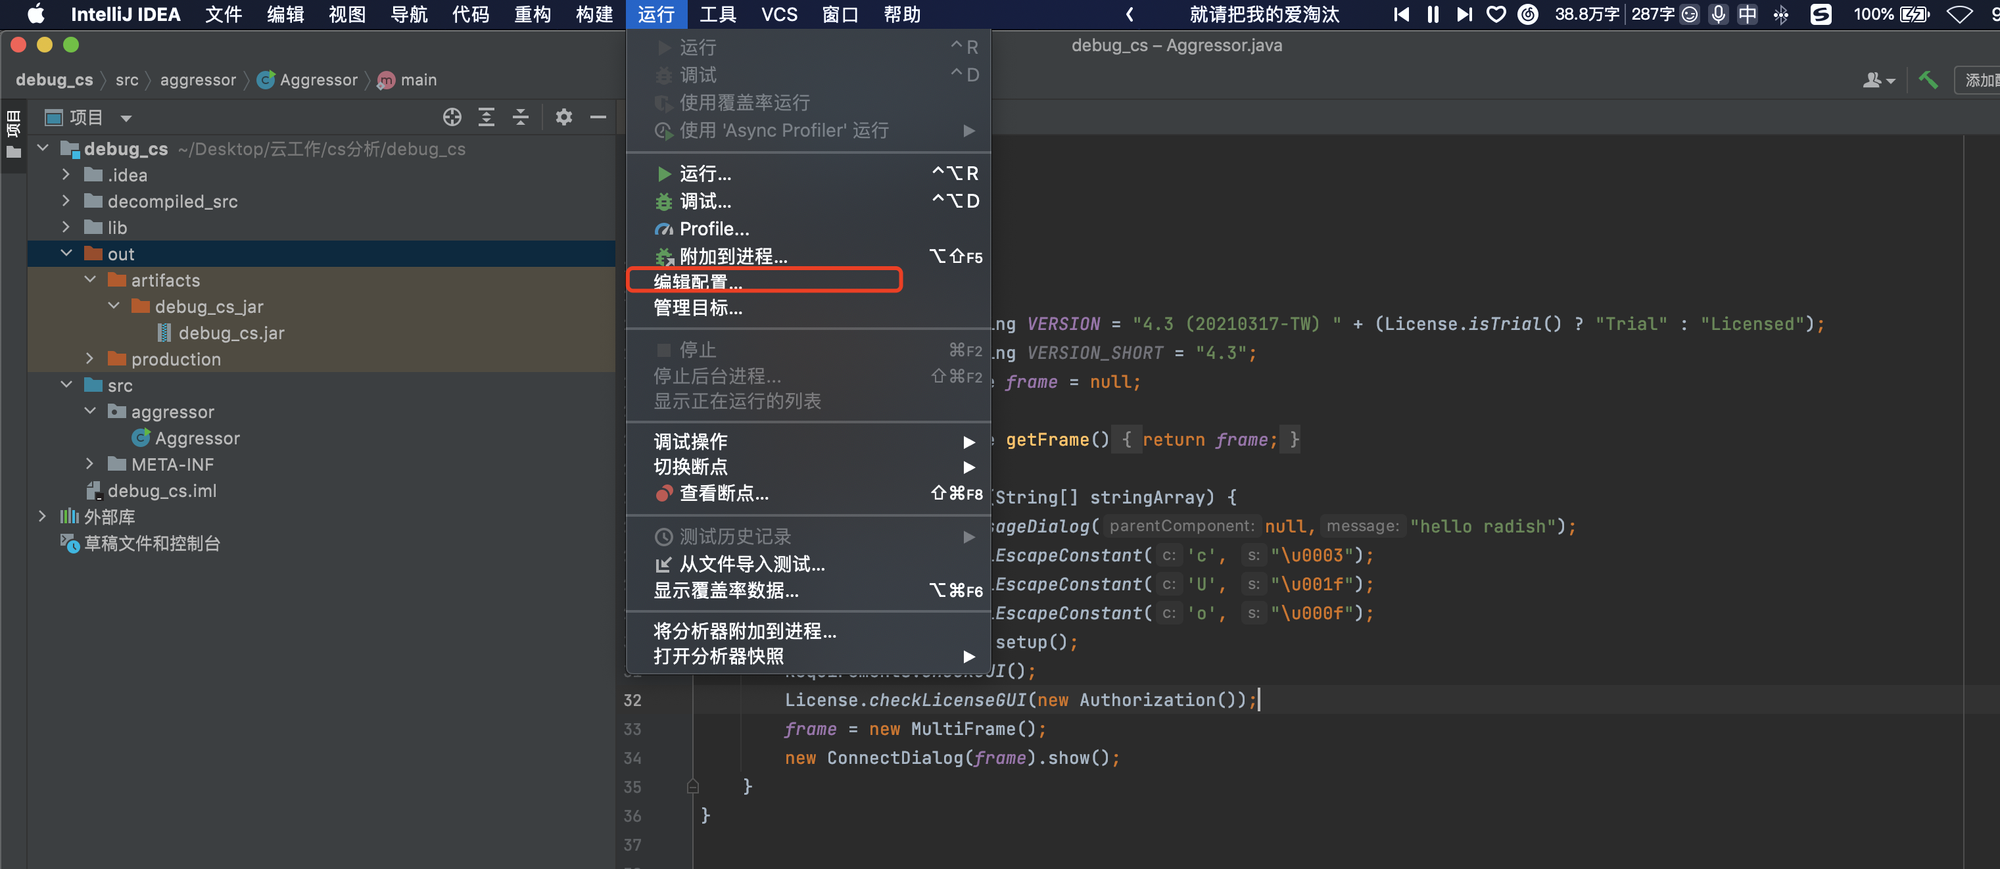
虚拟机选项可以参考cs的启动脚本
start.sh,在启动debug前把cobaltstrike.auth 复制到新jar的目录下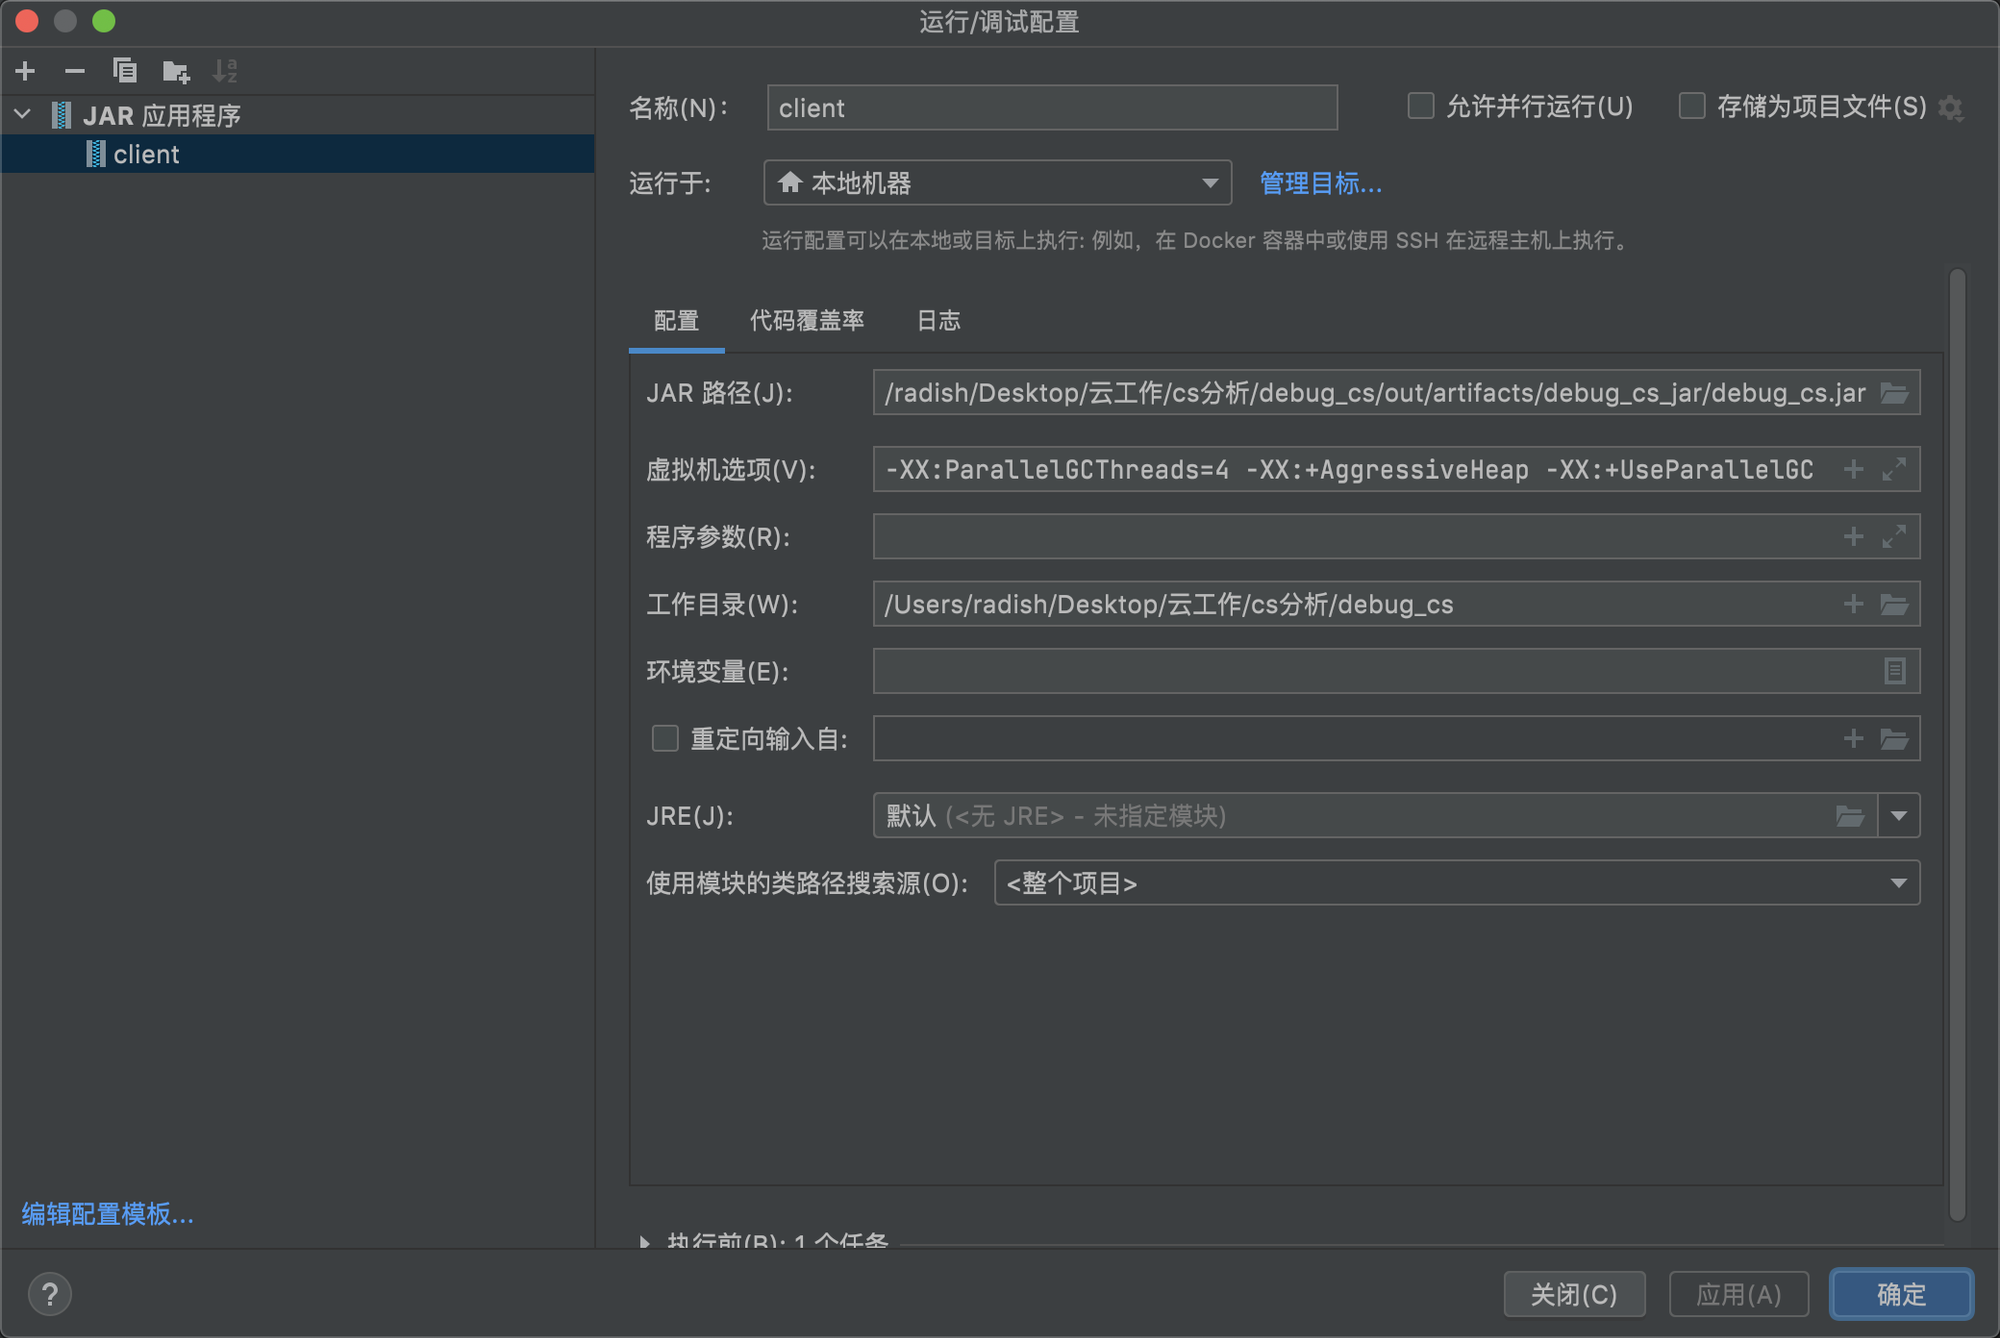
尝试打一个断点
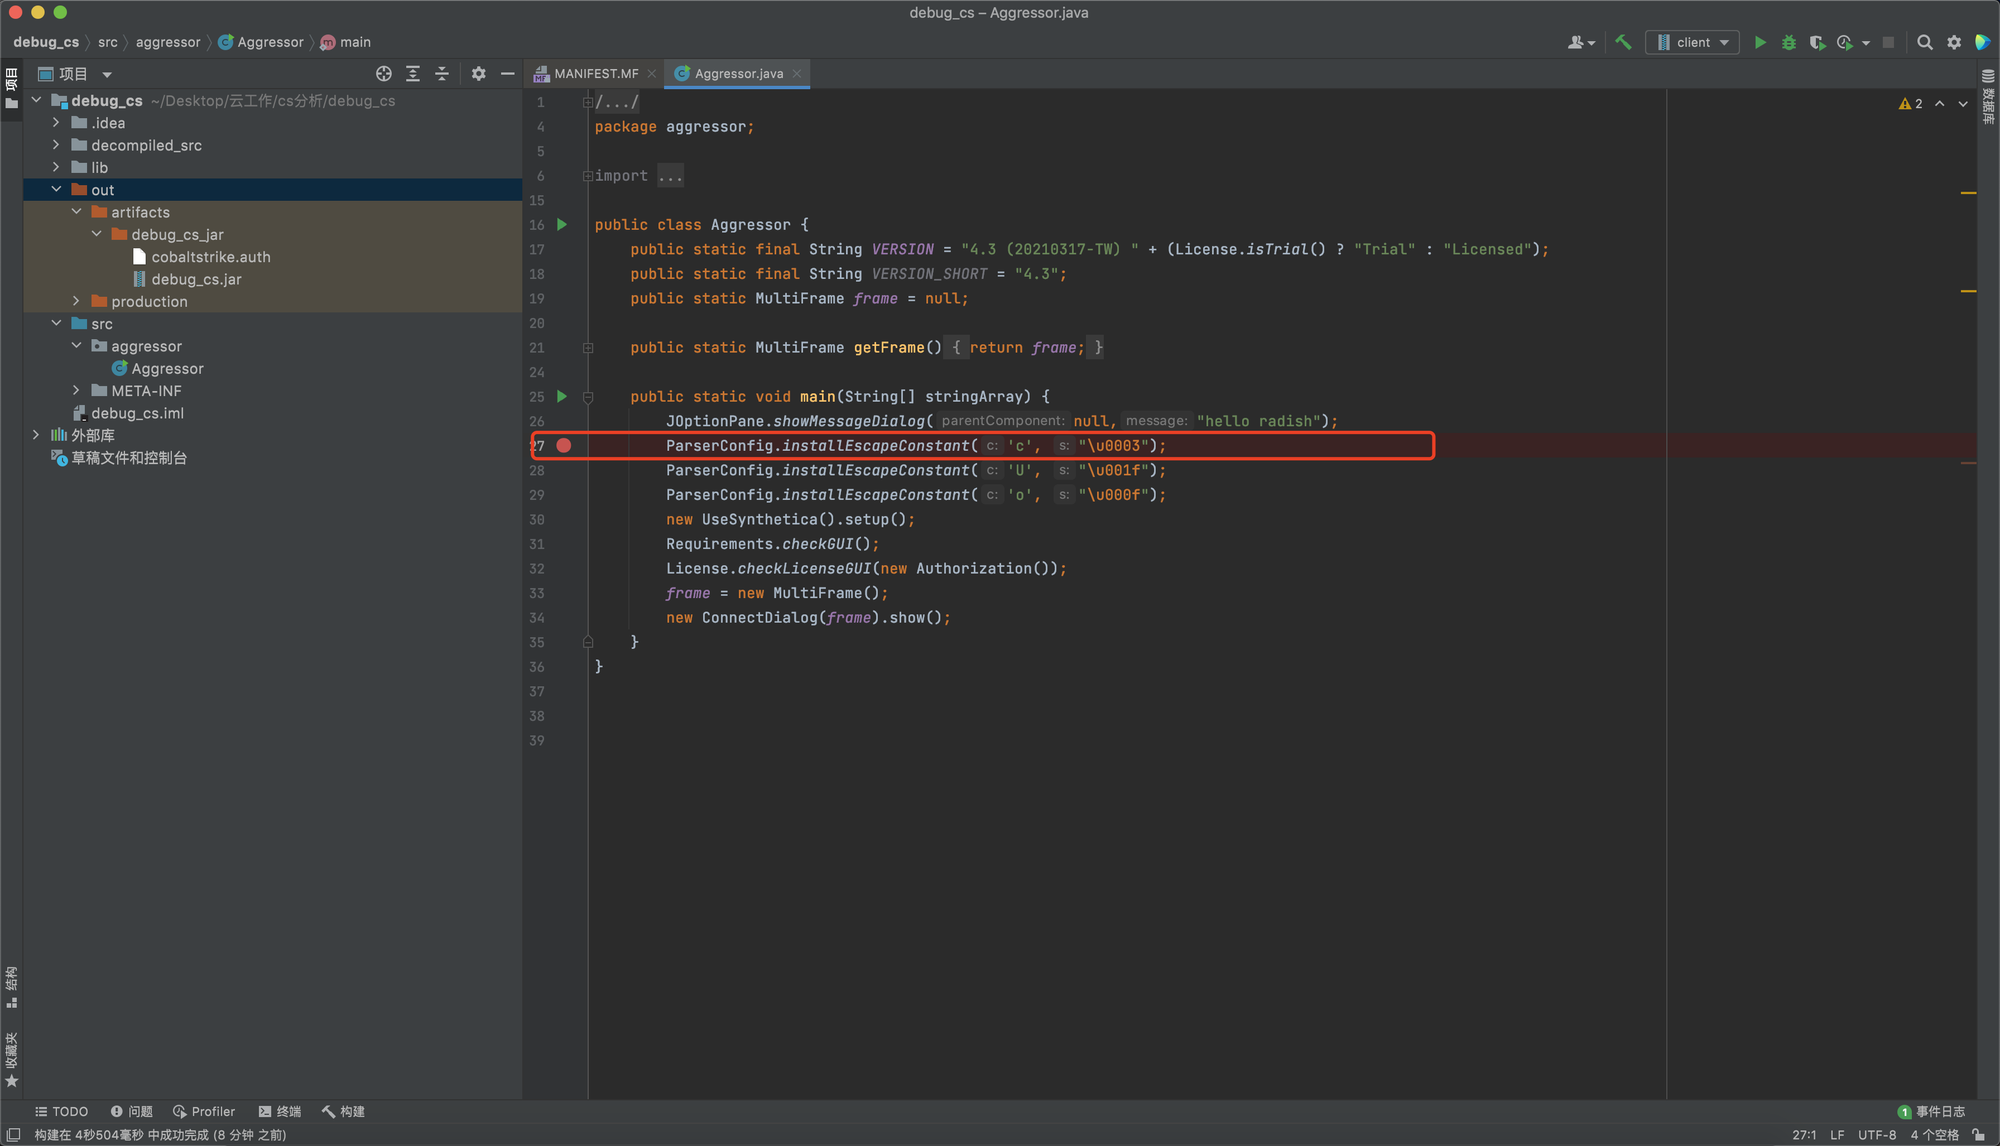
然后debug运行,首先可以看到我们添加的代码成功运行
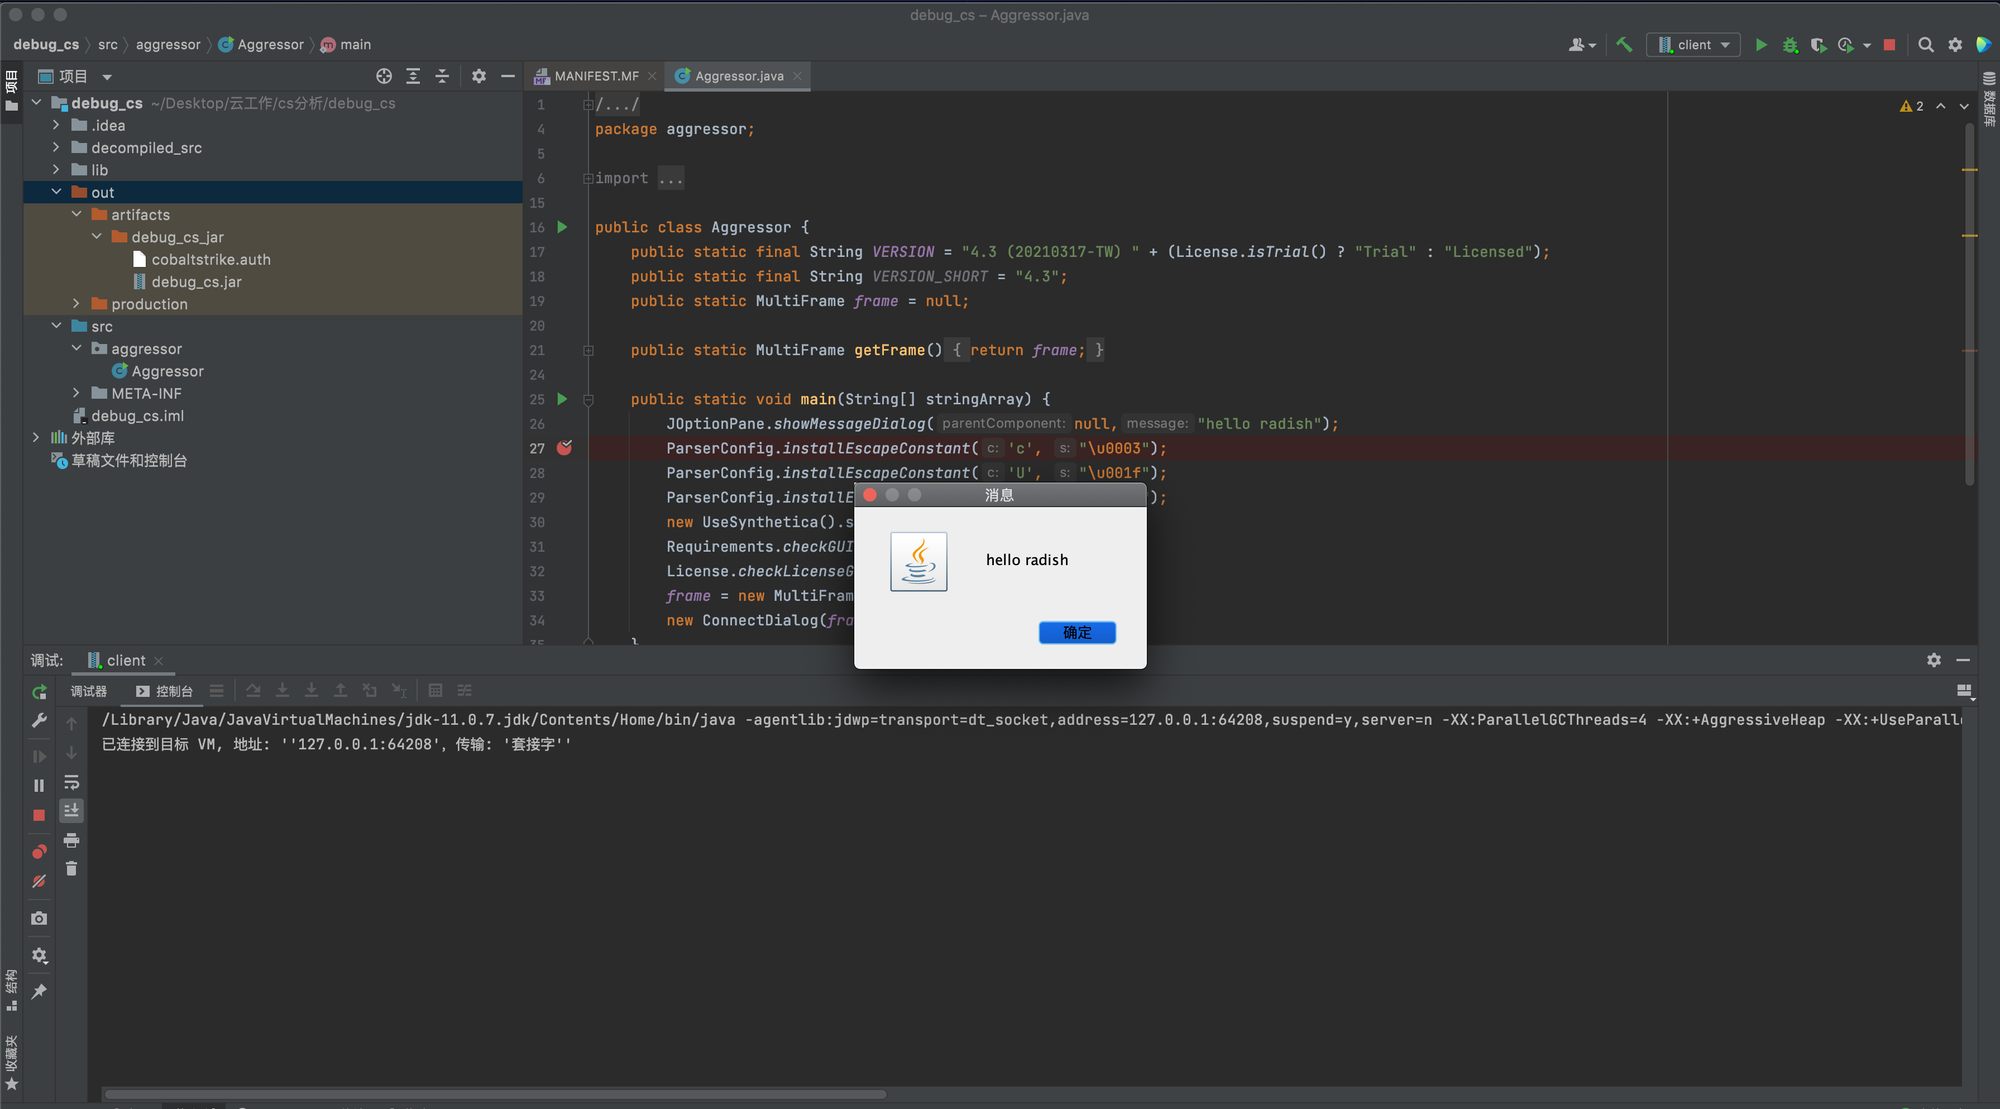
接着程序会停在断点上
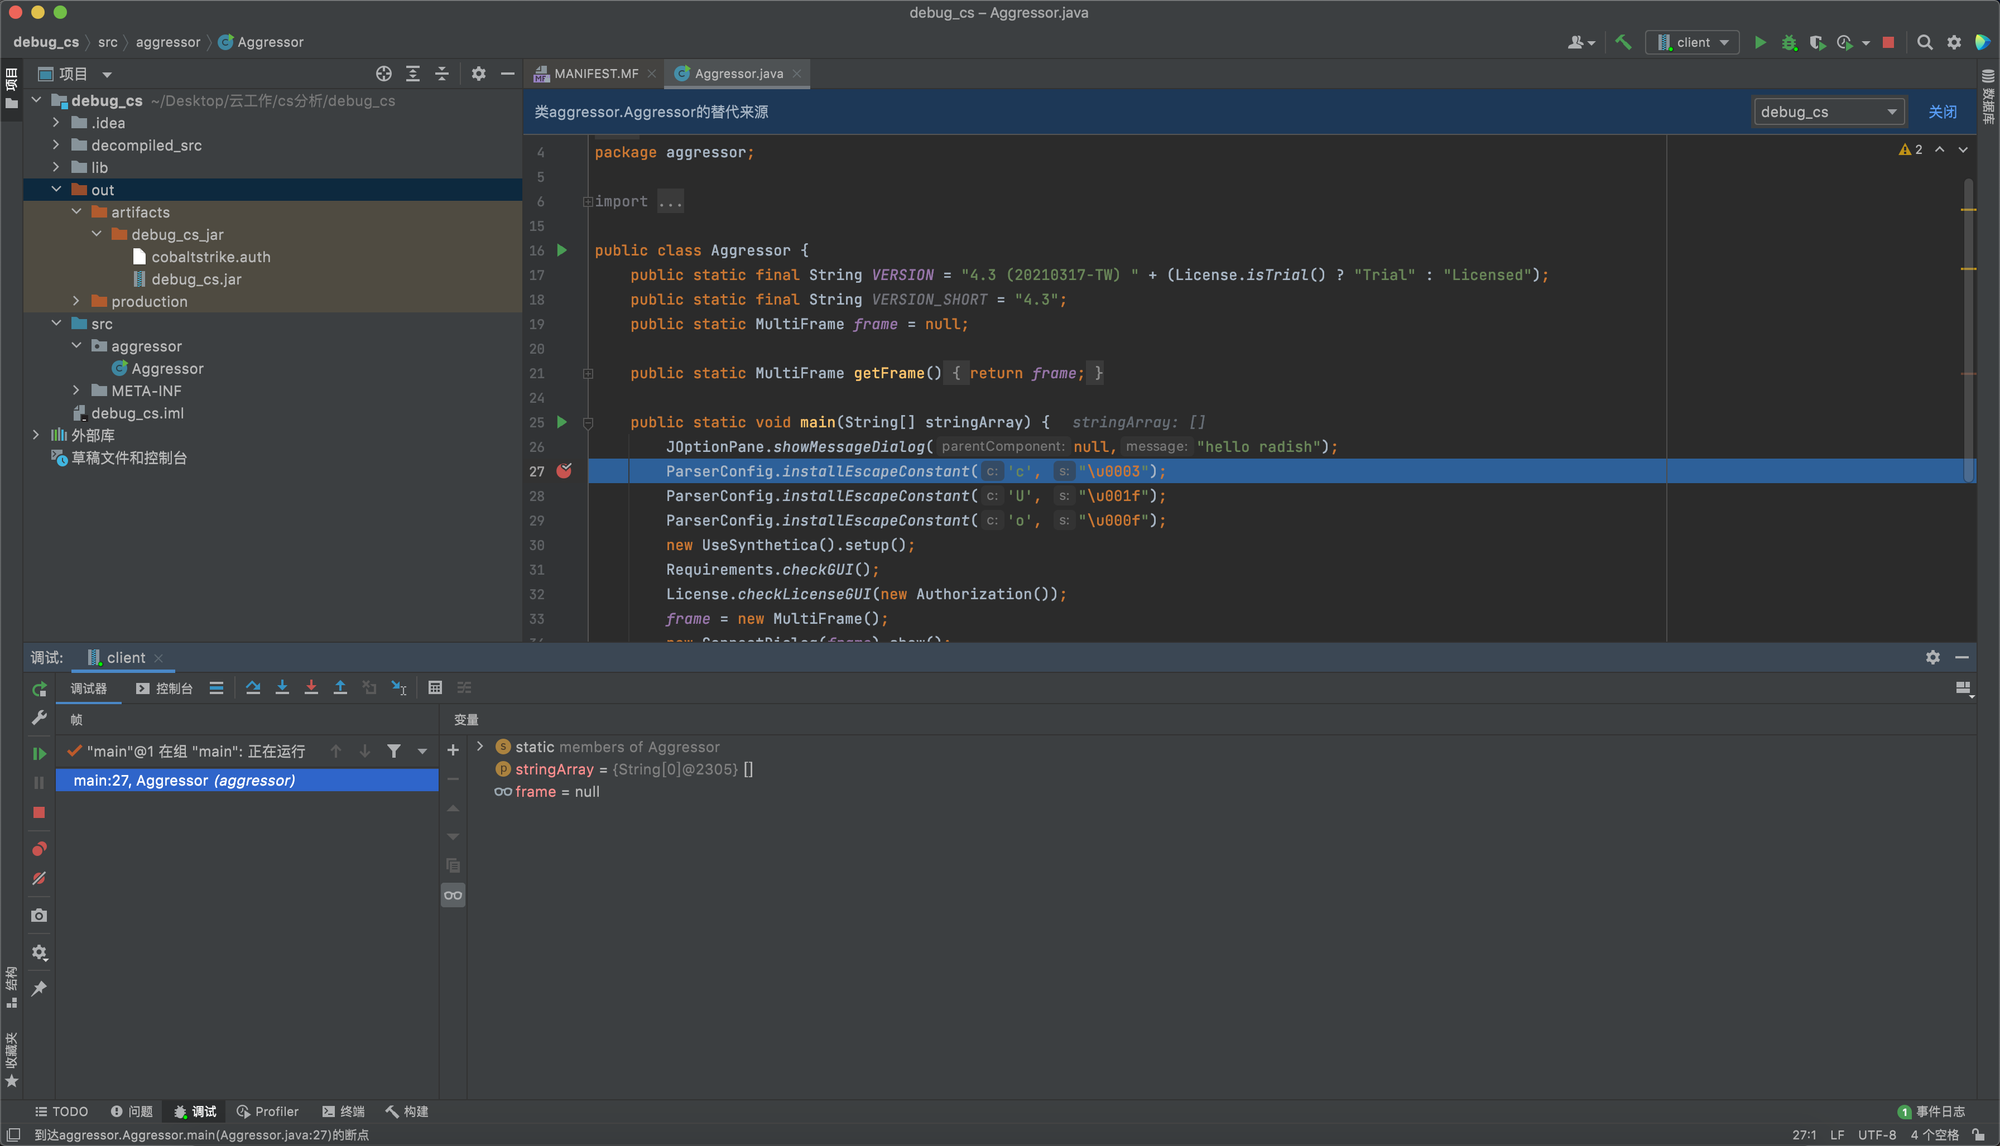
然后f9继续运行程序,会发现程序报错了

原因是MANIFEST.MF 没有同步,找到libc目录下META-INF下的MANIFEST.MF,使src下的和它一样就行。
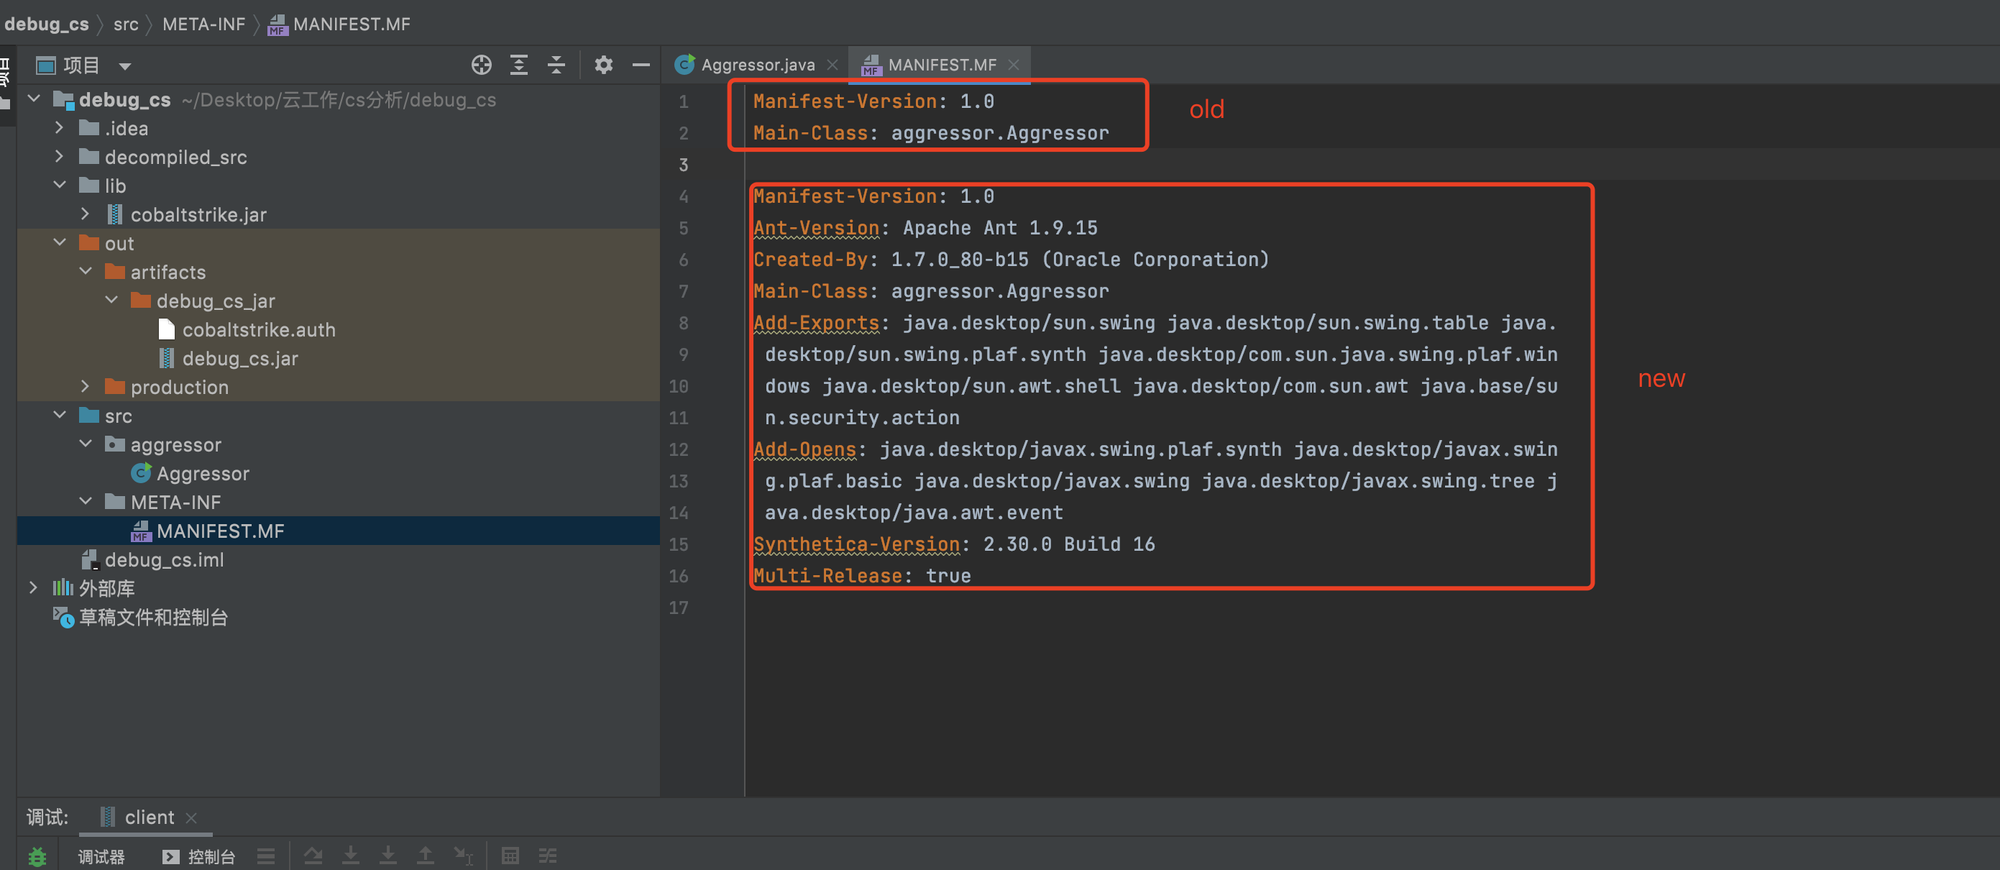
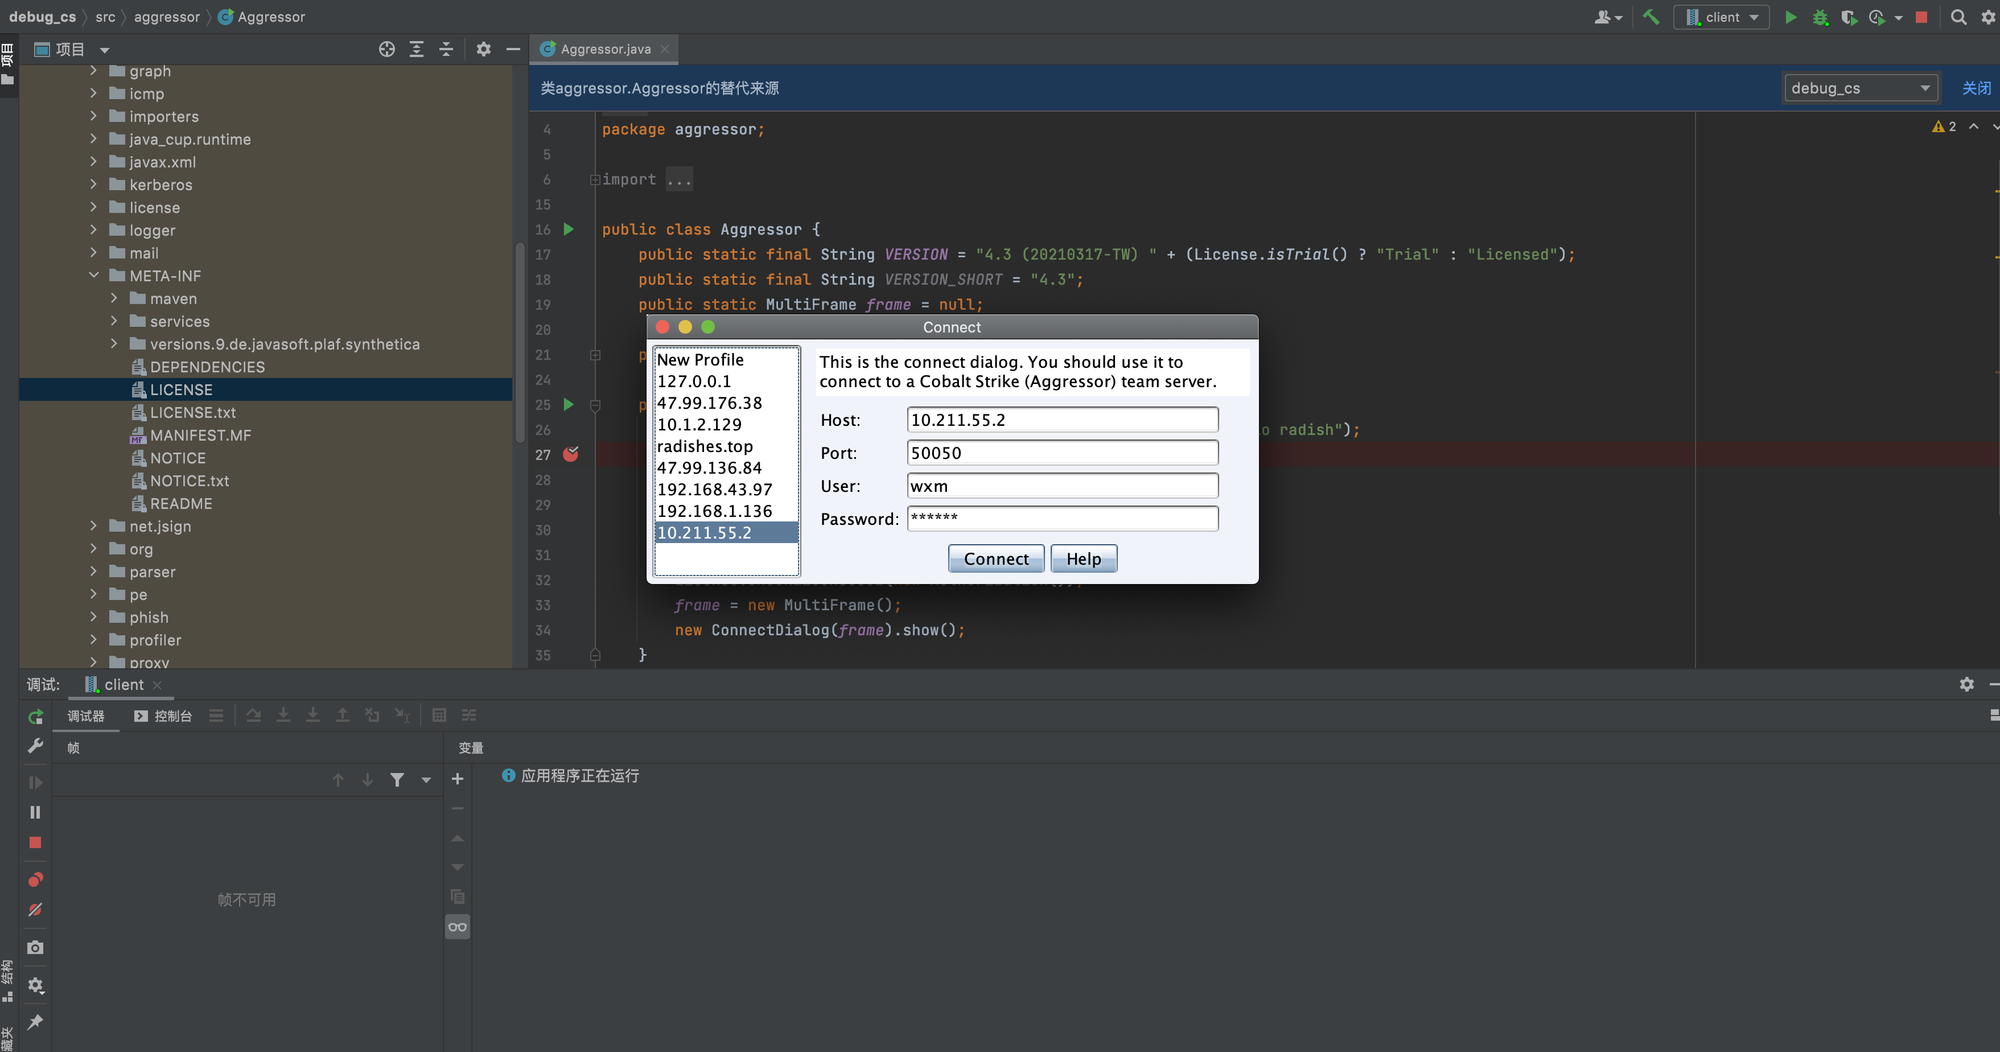
然后再来一遍debug,客户端成功运行起来
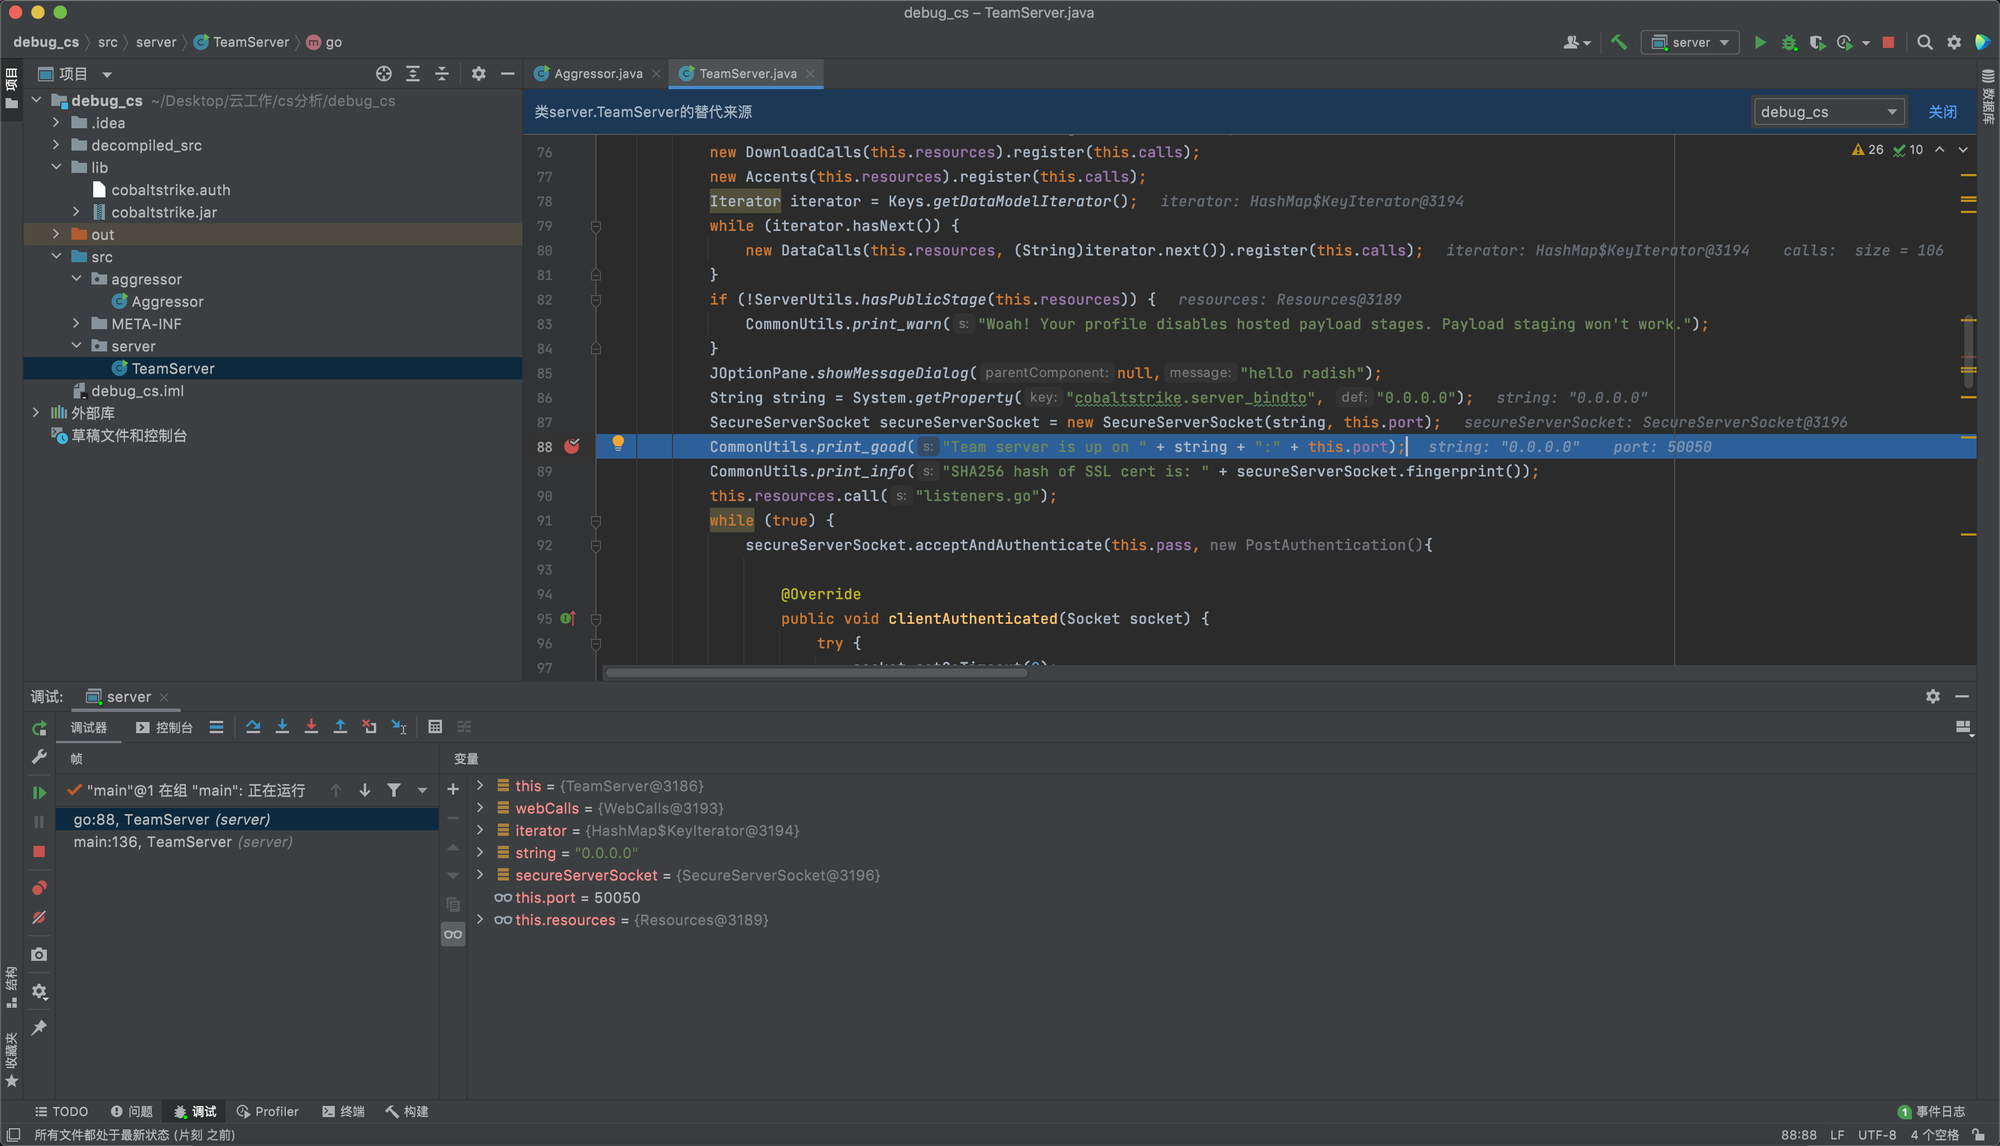
0x07 Debug服务端
通过关键字符串把服务端的入口定位到
server/teamserver ,先把这个文件用同样的方法复制到src目录下,保持目录一样,只复制一个文件,文件多的话,重构时会有大量的语法报错。
此时的目录结构如下所示
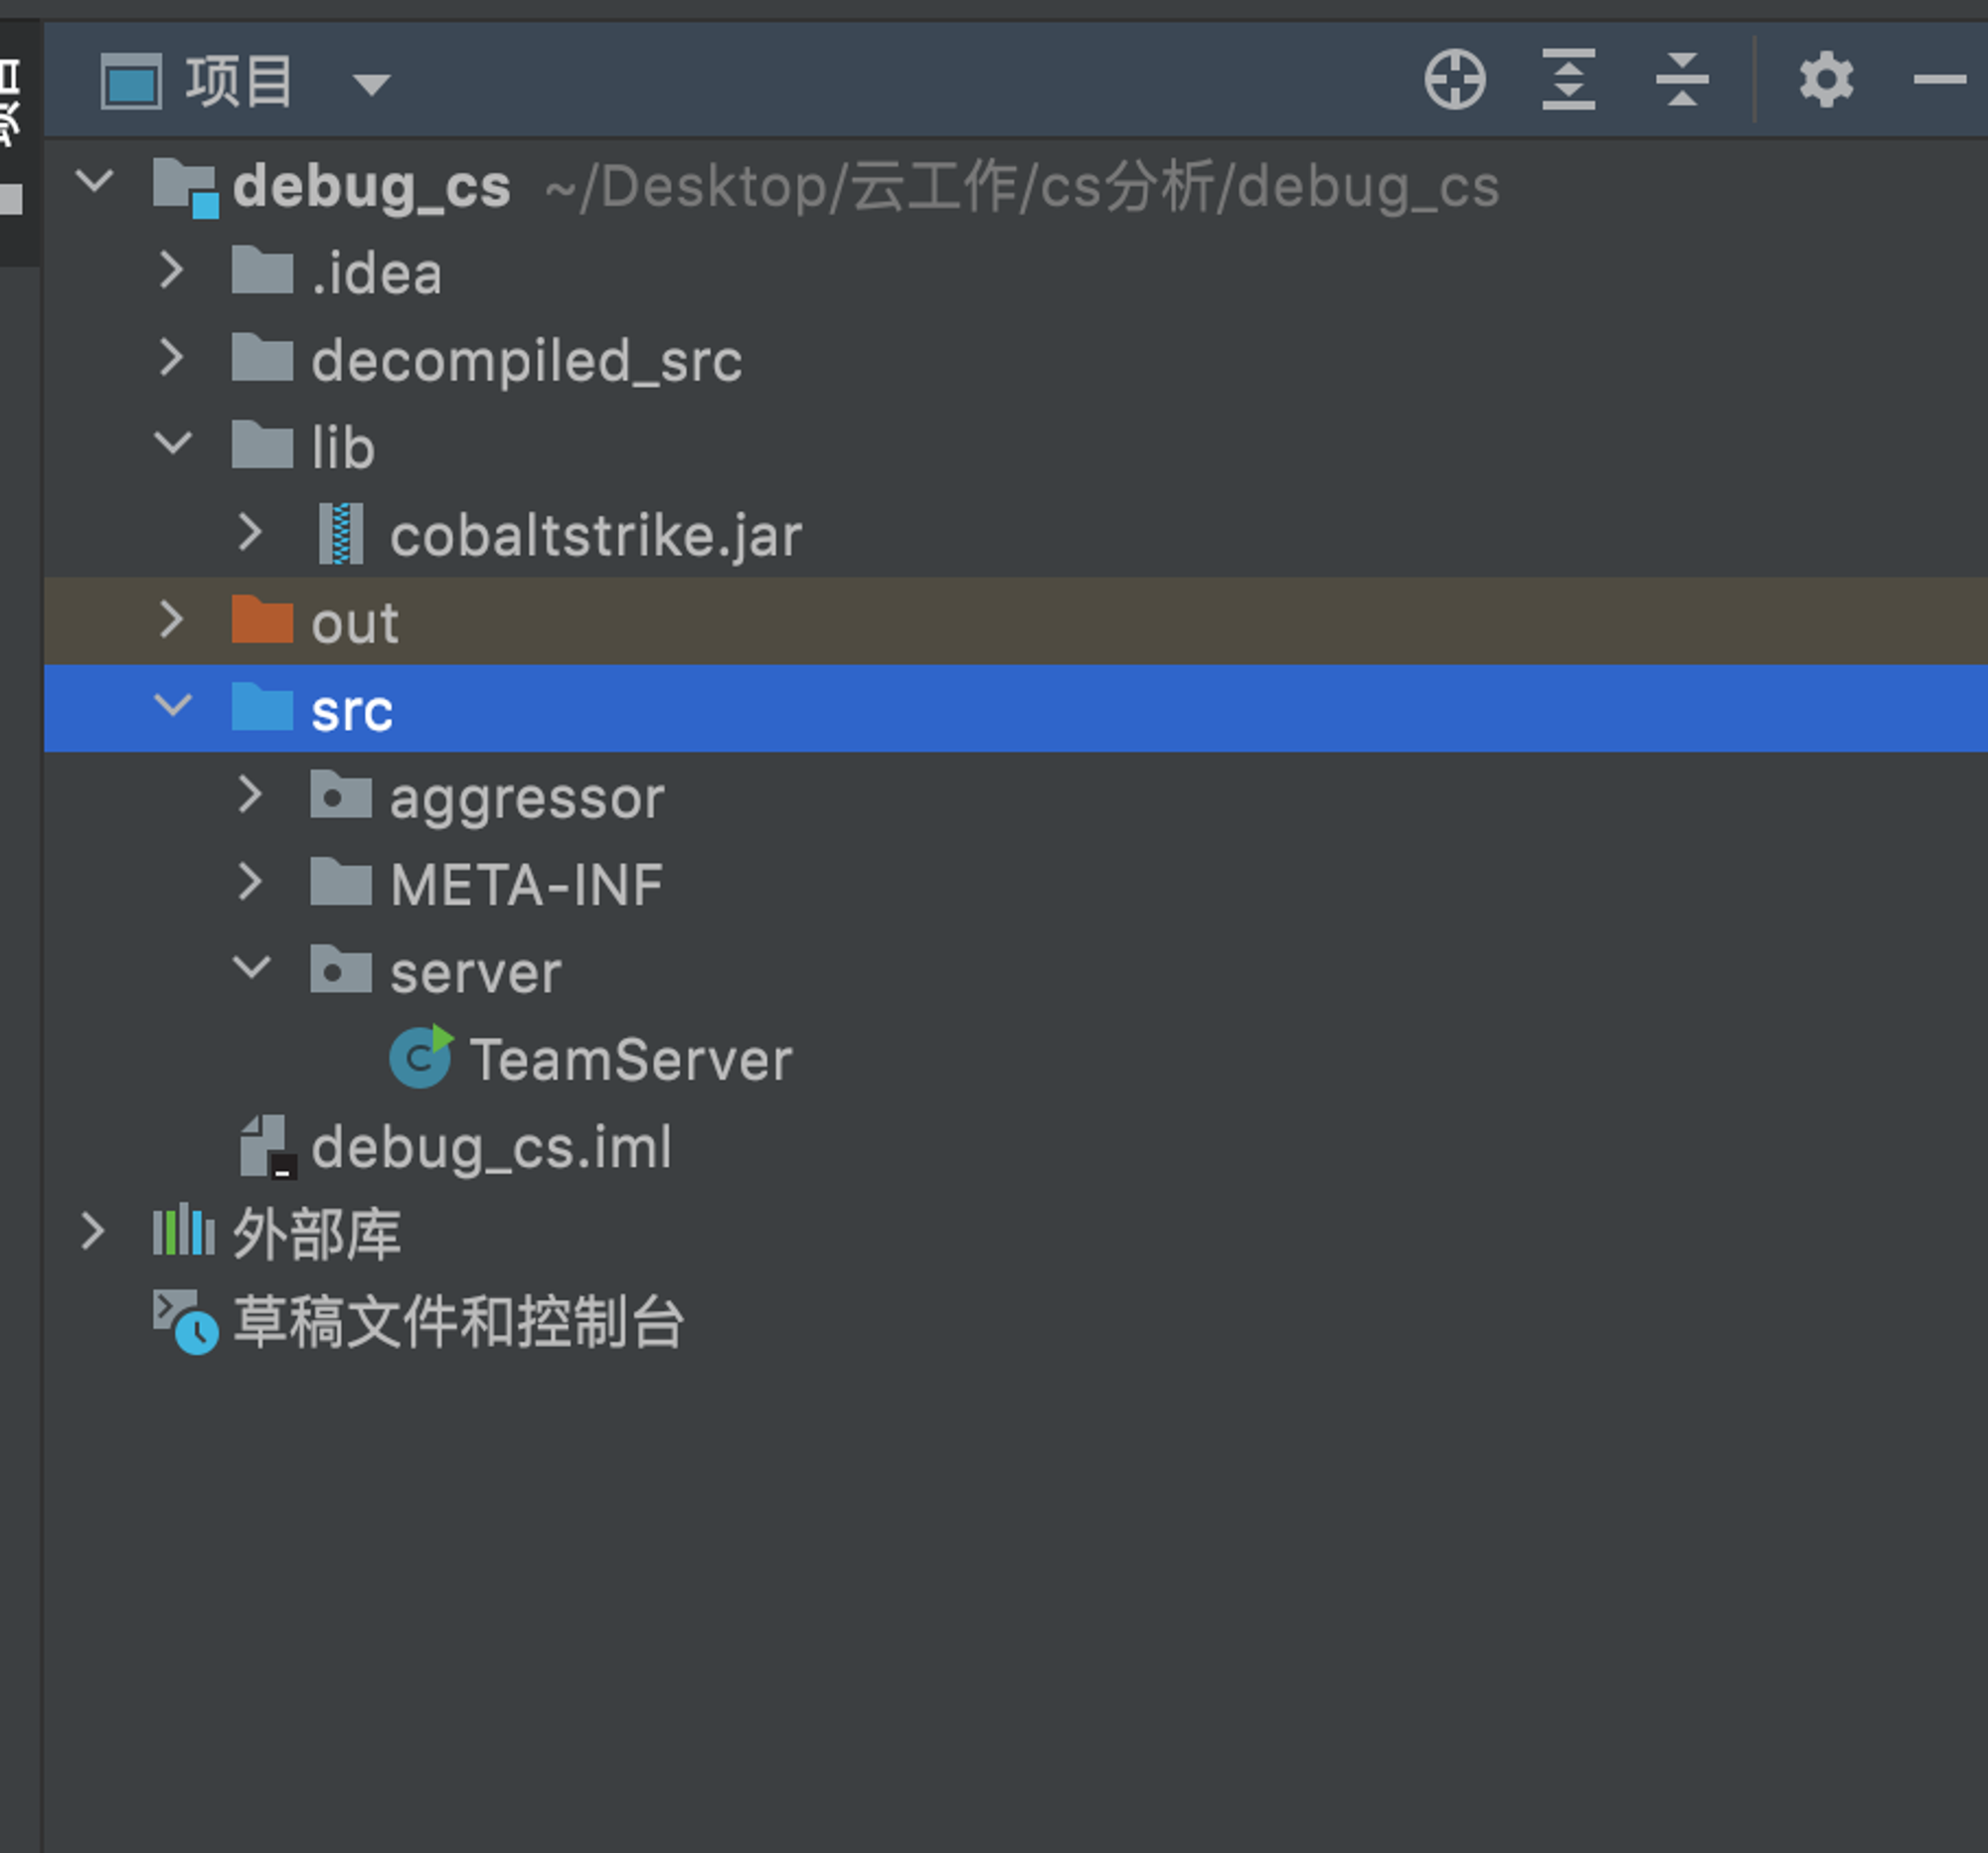
接着创建一个应用程序的调试配置,虚拟机选项参考teamserver。
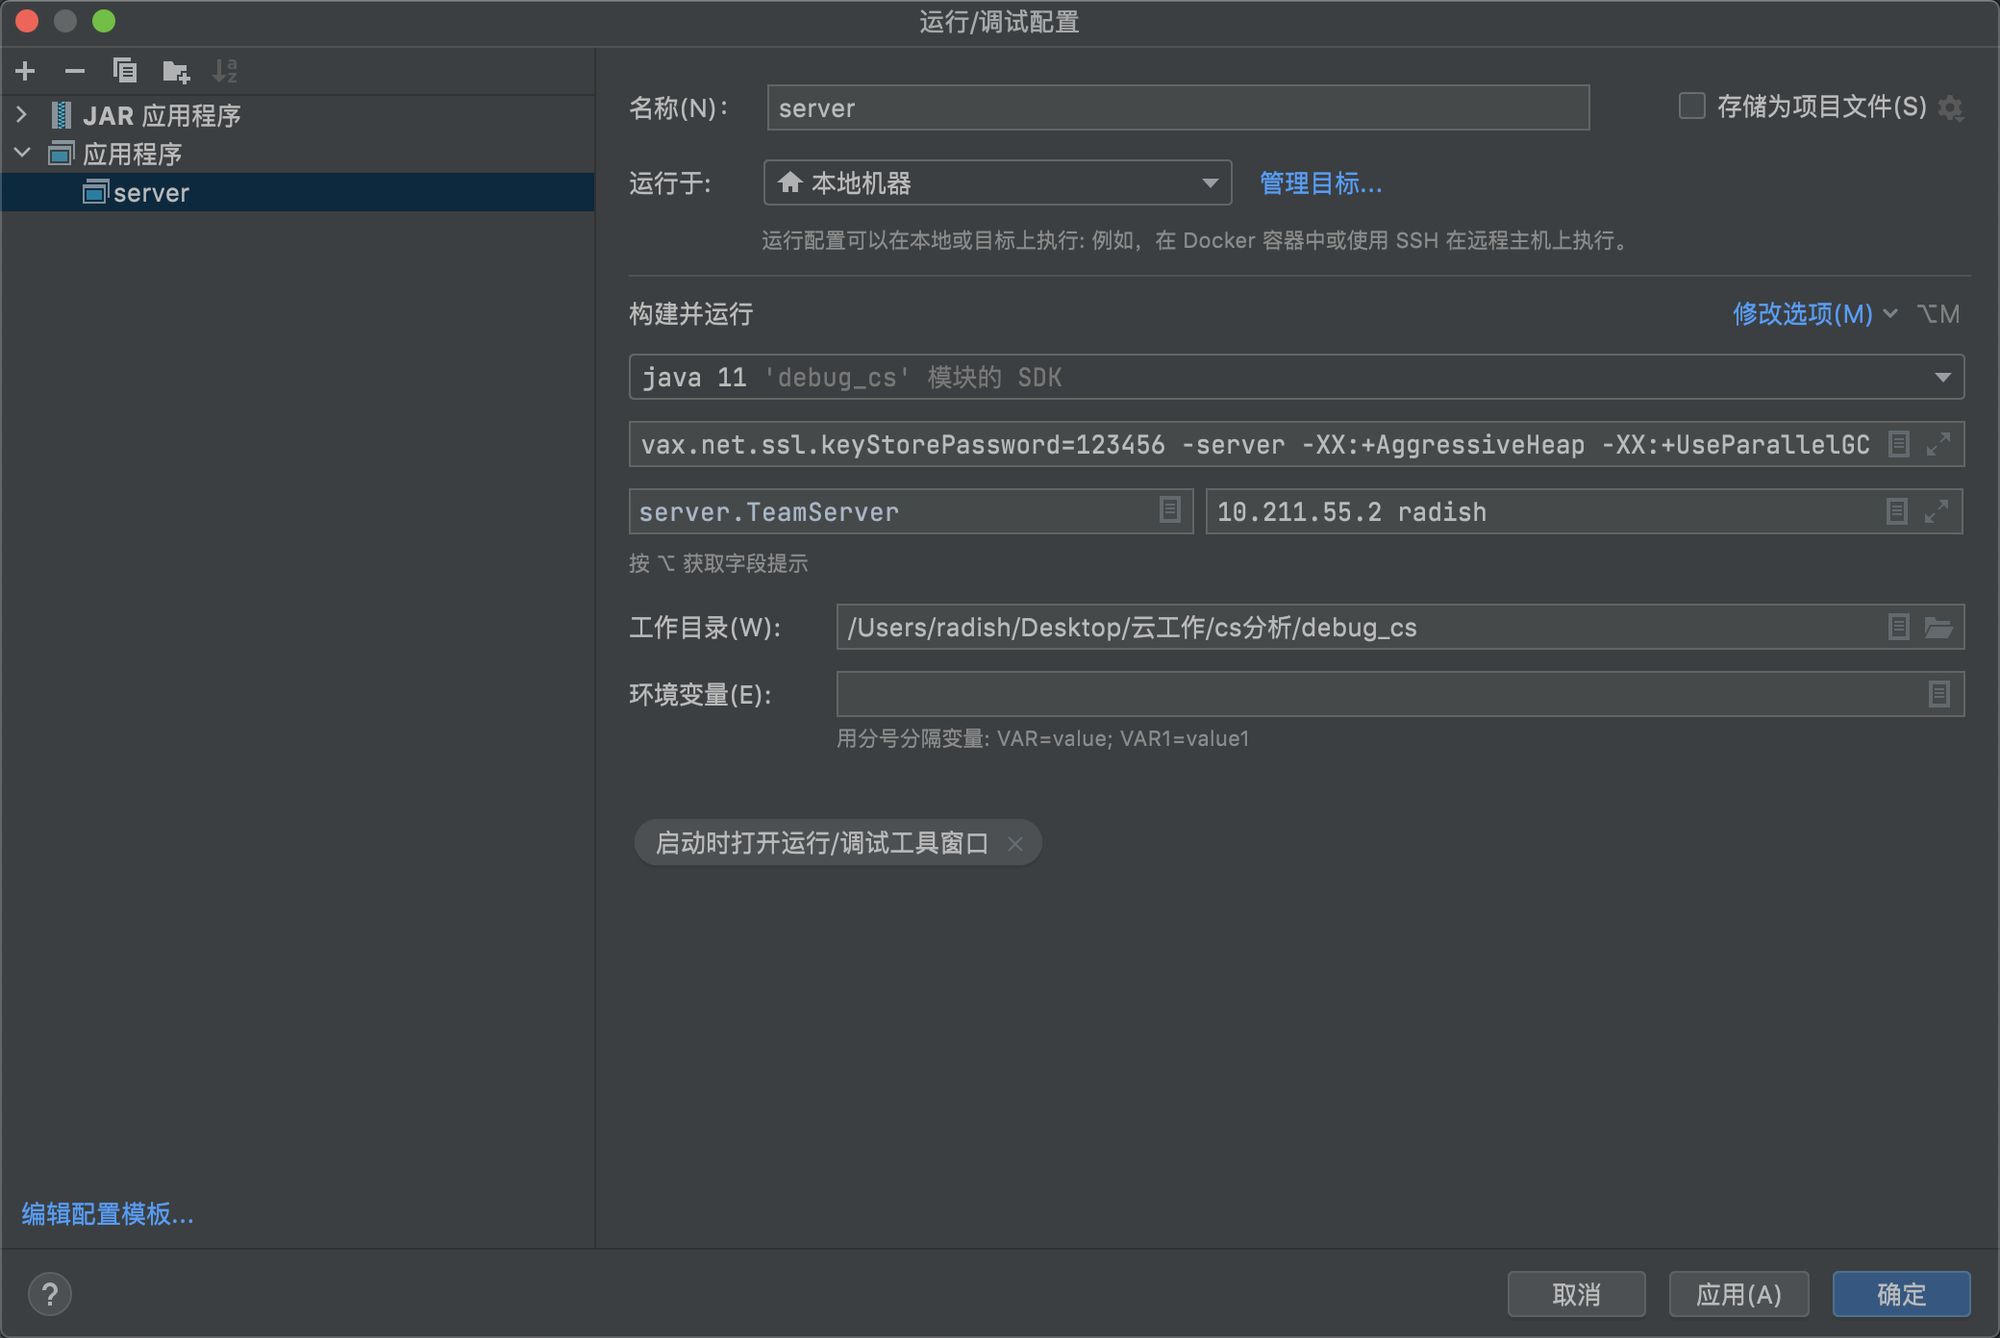
VM选项:
-XX:ParallelGCThreads=4 -Dcobaltstrike.server_port=50050 -Dcobaltstrike.server_bindto=0.0.0.0 -Djavax.net.ssl.keyStore=/Users/radish/MyFile/tools/webtools/cobaltstrike4.3/cobaltstrike.store -Djavax.net.ssl.keyStorePassword=123456 -server -XX:+AggressiveHeap -XX:+UseParallelGC成功断在断点上
